How to Top Up Your ZenCreator Balance (Credits)
Step-by-step guide to adding credits via card payment or crypto (USDT/USDC), plus how to set up auto top-up.
You can top up your ZenCreator balance in two ways:
- Open the Billing page: https://app.zencreator.pro/billing
- Or click the Credits button in the top menu

You'll see all available credit packages (your packages may differ from examples in this guide).
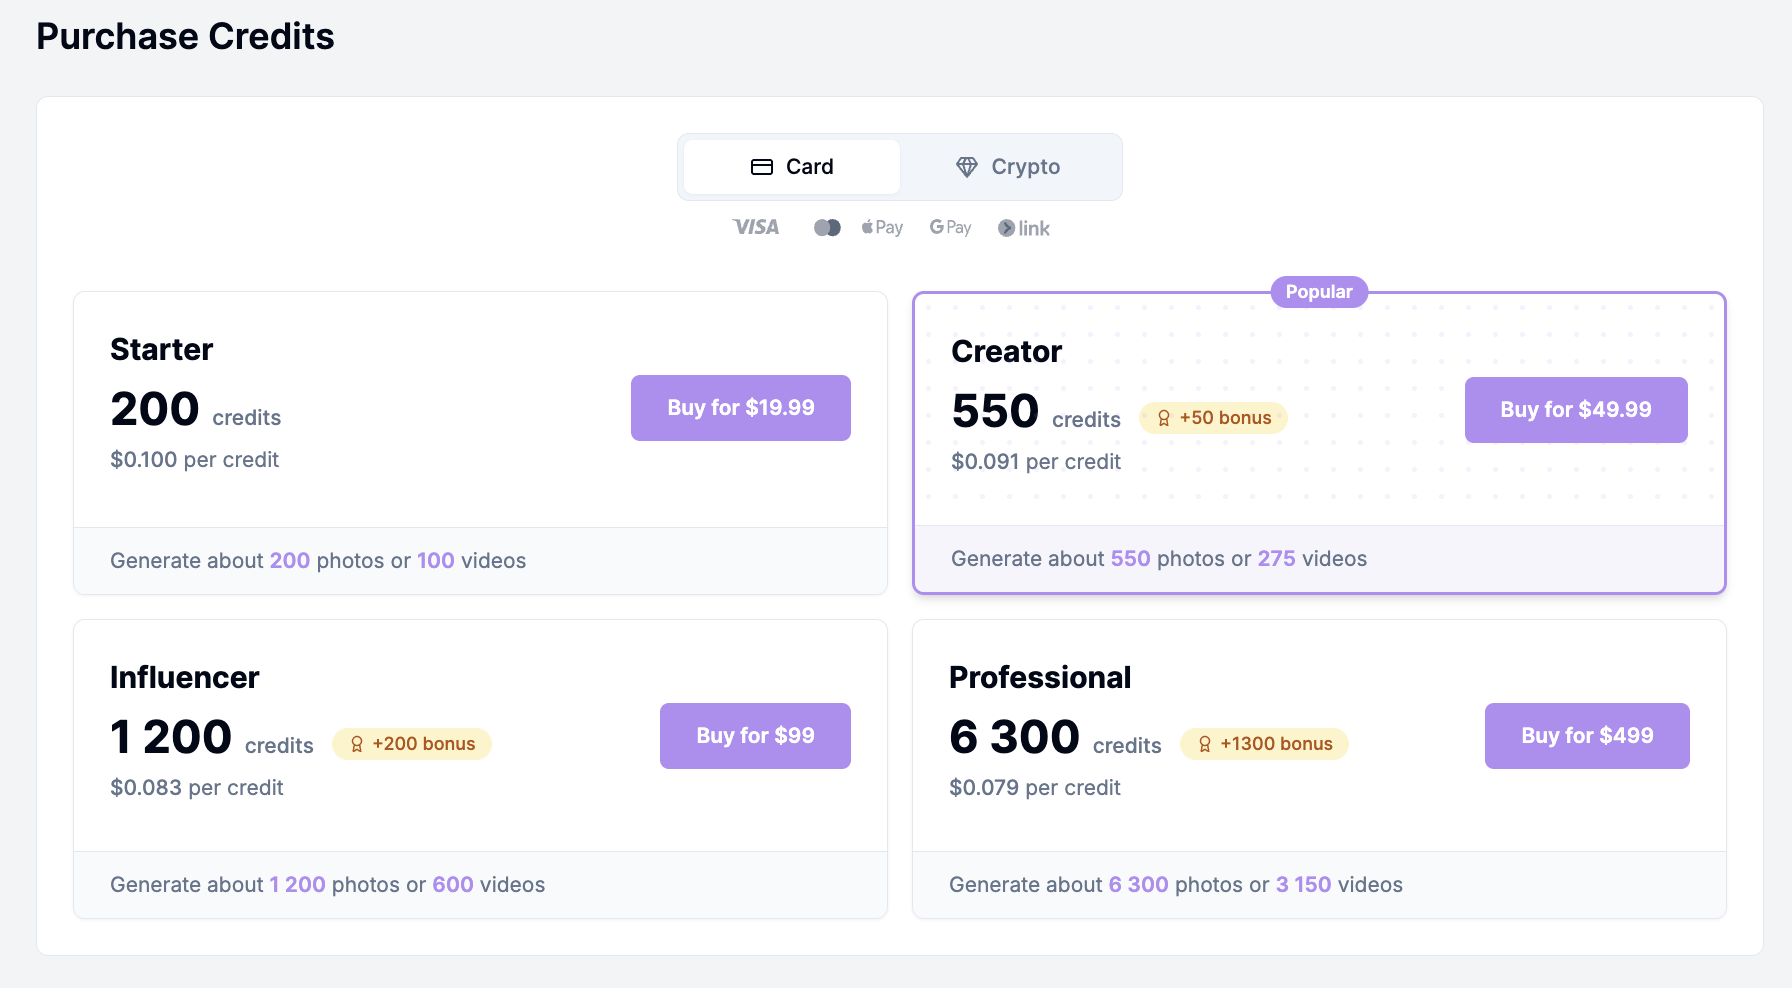
Step 1 — Choose a payment method
At the top of the checkout window, choose how you want to pay:

- Card (Visa / Mastercard / Apple Pay / Google Pay / Link)
- Crypto (USDT / USDC on ERC-20 / TRC-20 / Polygon)
Then select the credit package you want to buy.
Option A — Pay by Card
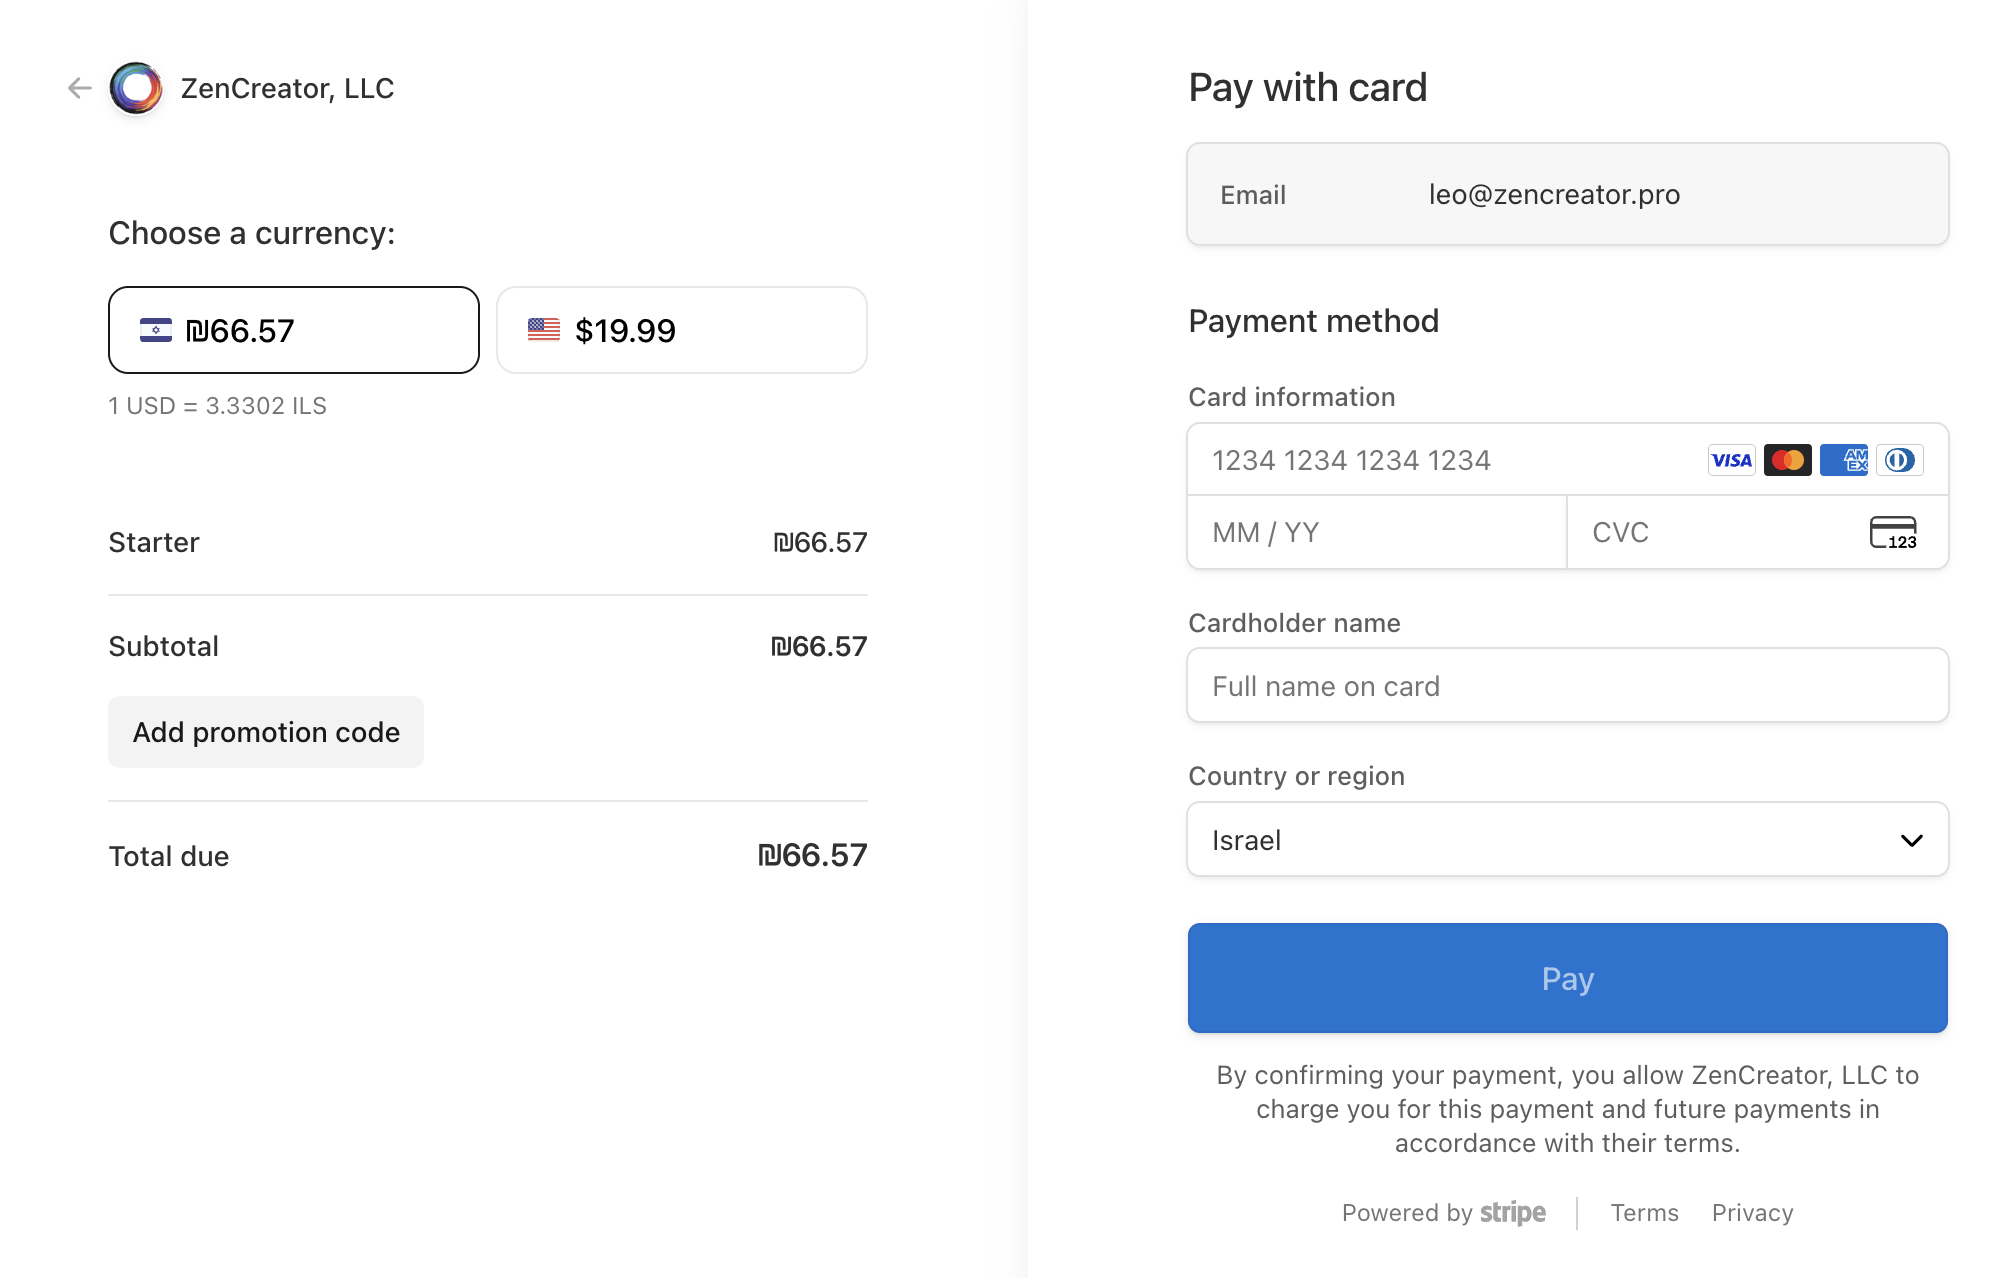
- Enter your card details.
- If you have a promo code, enter it and click Apply before clicking Pay.
- If something goes wrong, you'll see an error notification.
- If you changed your mind, click Back.
Option B — Pay with Crypto (USDT/USDC)
After you choose Crypto and click a package, you must select:
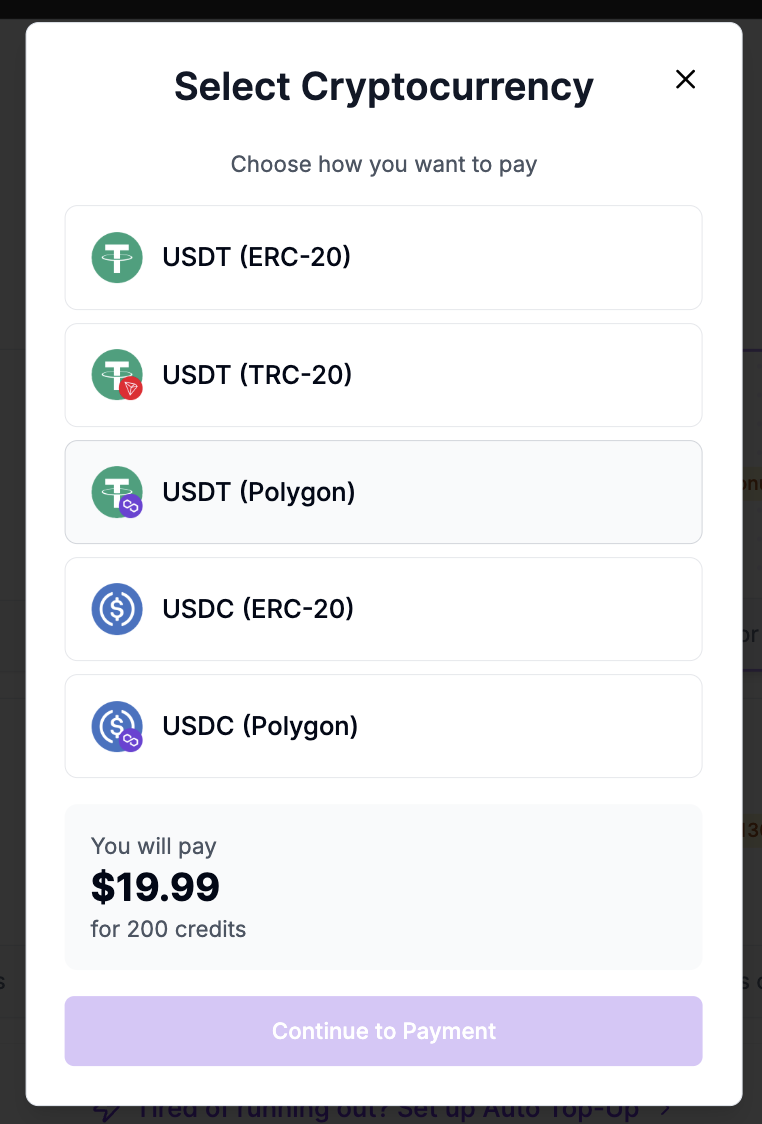
- which coin (USDT or USDC)
- which network/blockchain (ERC-20 / TRC-20 / Polygon)
⚠️ Important: The network must match exactly
Crypto wallet addresses can look the same across different blockchains. But if you choose the wrong network, we won't be able to automatically detect/accept your payment — and in most cases, we also won't be able to recover or refund it.
In other words: the network you pick in ZenCreator must be the same network you use in your wallet/exchange.
What's the difference between networks (in plain English)?
A "network" (ERC-20, TRC-20, Polygon) is basically a different rail for sending crypto. Even if the address looks familiar, sending on the wrong rail can make the payment unreachable for us.
How to send the payment
After you select the network, you'll see a payment window with:
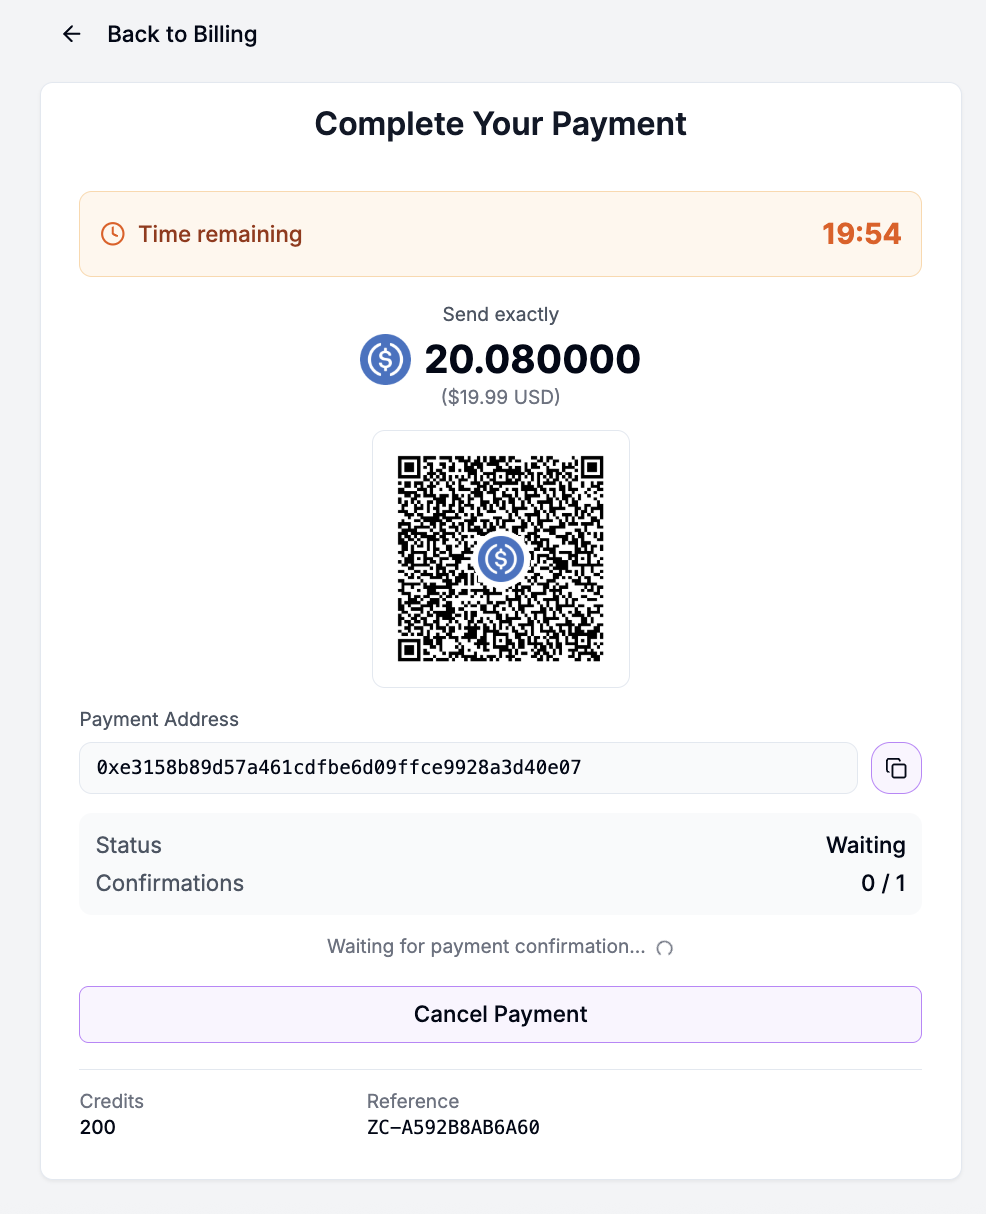
- QR code
- wallet address
- exact amount to send
- time remaining (timer)
You can pay in two ways:
- Scan the QR code with your phone wallet — it usually auto-fills the wallet address + network
- Copy the wallet address and send manually from your wallet/exchange
If you're not sure, use the QR code — it helps your wallet auto-fill both the address and the network correctly.
✅ Send the exact amount shown (not less)
It's very important to send exactly the amount shown in the payment window (not less).
If you send less than required
- You can complete the same payment using multiple transfers (for example, if you sent less at first).
- The payment will not be processed; it will eventually be canceled, and the amount will be returned to you.
What will happen next (summary)
- If you sent everything correctly → the payment will be processed automatically
- If you sent on a different network or to a different address → we won't receive the funds, credits won't be added, and you won't be able to get the money back.
- If you sent less → the payment won't be processed and will be canceled; the amount will be returned to you.
- You can complete the same payment using multiple transfers (for example, if you sent less at first).
⚠️ Common mistake: the wallet address changes every time
Each new crypto payment is created with a new wallet address. Do not reuse an address from an older payment.
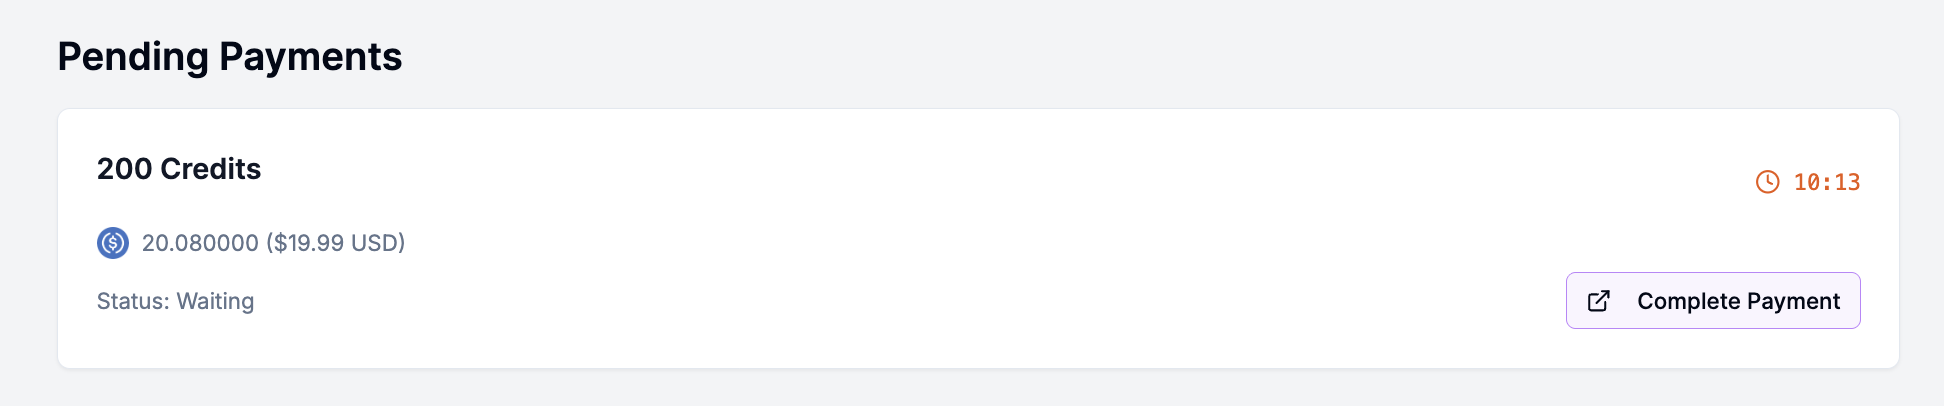
While your payment is confirming
You can keep using ZenCreator while the payment is confirming.
If you click Back in the payment window:
- You'll still see the payment on the Billing page with time remaining
- Click Complete payment to reopen the same payment window
Option C — Auto Top-Up (Card payments only)

Auto Top-Up helps you never run out of credits. When enabled, ZenCreator will automatically buy credits for you when your balance drops below a set threshold.
✅ Auto Top-Up works with card payments only. (Crypto payments are not supported for Auto Top-Up.)
How to enable Auto Top-Up
- Go to Billing → Auto Top-Up.
- Turn Auto Top-Up ON.
- Choose When balance falls below (e.g., 50 credits).
- Choose what to Automatically purchase (the credit package you want).
- Select the Payment method (saved card) or click Change to use a different card.
- Click Save Changes.
What will happen when it triggers
- When your balance drops below your chosen threshold, we'll charge your selected card and add the selected credit package to your account.
- You'll receive an email confirmation for each Auto Top-Up purchase.
⚠️ Note: If your card charge fails, the Auto Top-Up won't complete. Update your payment method and try again.
Disable anytime
You can turn Auto Top-Up OFF whenever you want — it will stop future automatic purchases.