How to Change an Outfit on a Photo with AI (2026)
Learn how to remove and replace clothes on a photo with AI in three steps. A practical guide to AI outfit transformation on your own AI characters — no editing skills.

The Short Version
To remove and replace clothes on a photo with AI, you upload an image, let the AI detect the garment area, then describe the outfit you want in its place. The AI regenerates that region to match the body, lighting and skin tone — no manual masking or editing skills.
This guide walks the full workflow on ZenCreator's AI Clothes Transfer, plus the three mistakes that ruin most results.
Responsible use. This works on your own AI-generated characters and photos you hold full rights to — consenting and fictional subjects only. Editing photos of real people without consent is illegal and counts as non-consensual intimate imagery (NCII). More detail in the FAQ below.
Why Is It So Hard to Change Clothes on a Photo Manually?
Doing it by hand means masking the garment pixel by pixel, then painting in new fabric that matches the body's lighting and shadow — hours of Photoshop work that still looks pasted-on.
AI inpainting collapses that into one step. The model reads the pixels around the clothing, then regenerates the masked region so the new garment shares the same light direction, shadow and skin tone. What took an editor an afternoon takes the AI under a minute — and you steer it with words, not brushes.
The catch: the AI generates new content. It doesn't reveal anything under the clothes — it paints over the area with a synthetic result. So the quality of your input photo and how clearly you describe the target outfit decide everything.
How Do You Remove and Replace Clothes on a Photo with AI?
Three steps: upload your AI character, describe the outfit, export. Here's each one in detail.
Step 1 — Upload your AI character
Open Image EditorOpen tool in ZenCreator and choose the Clothes Transfer workflow. Use a character you generated on ZenCreator, or a photo you hold full rights to.
The best source is a well-lit, full-body or ¾ shot at 1,000 × 1,000 px or larger. Even lighting and a clear view of the garment give the AI the most context to work from. Supported formats: JPG, PNG, WEBP, BMP.
Here's the kind of before/after the workflow produces — same character, only the clothing changes:
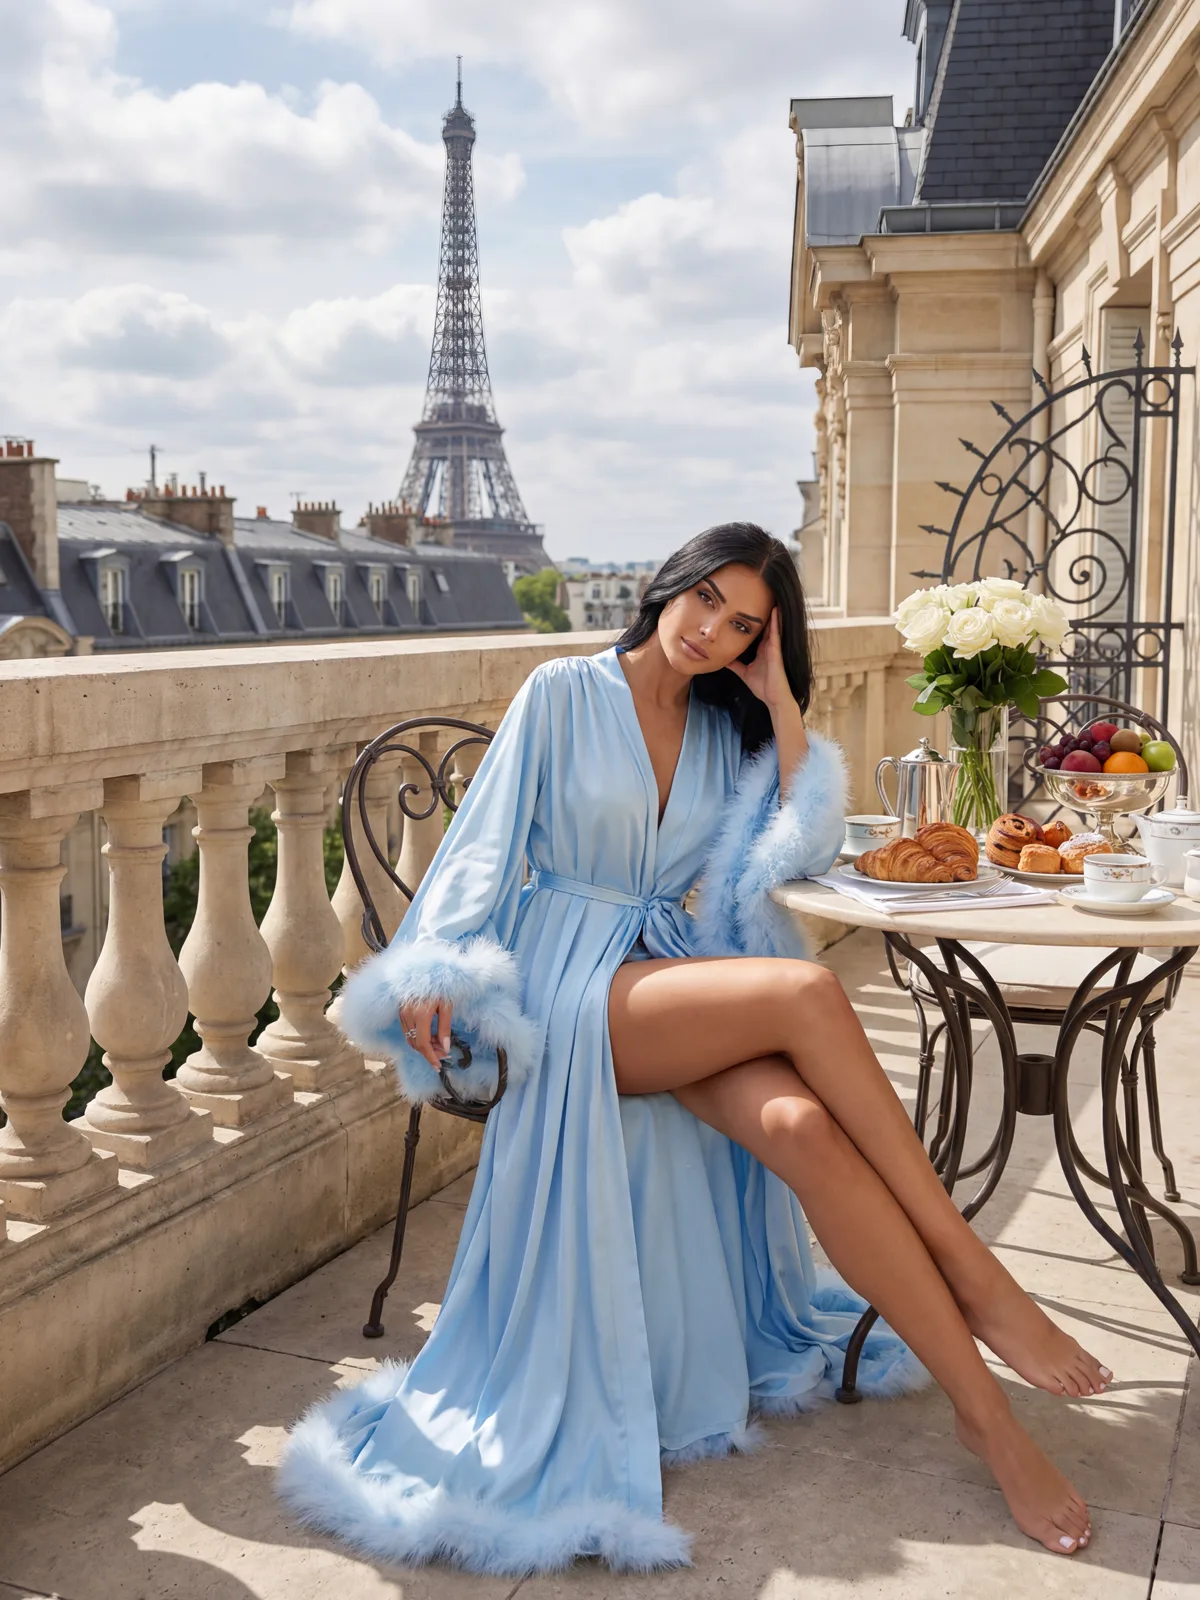
Before
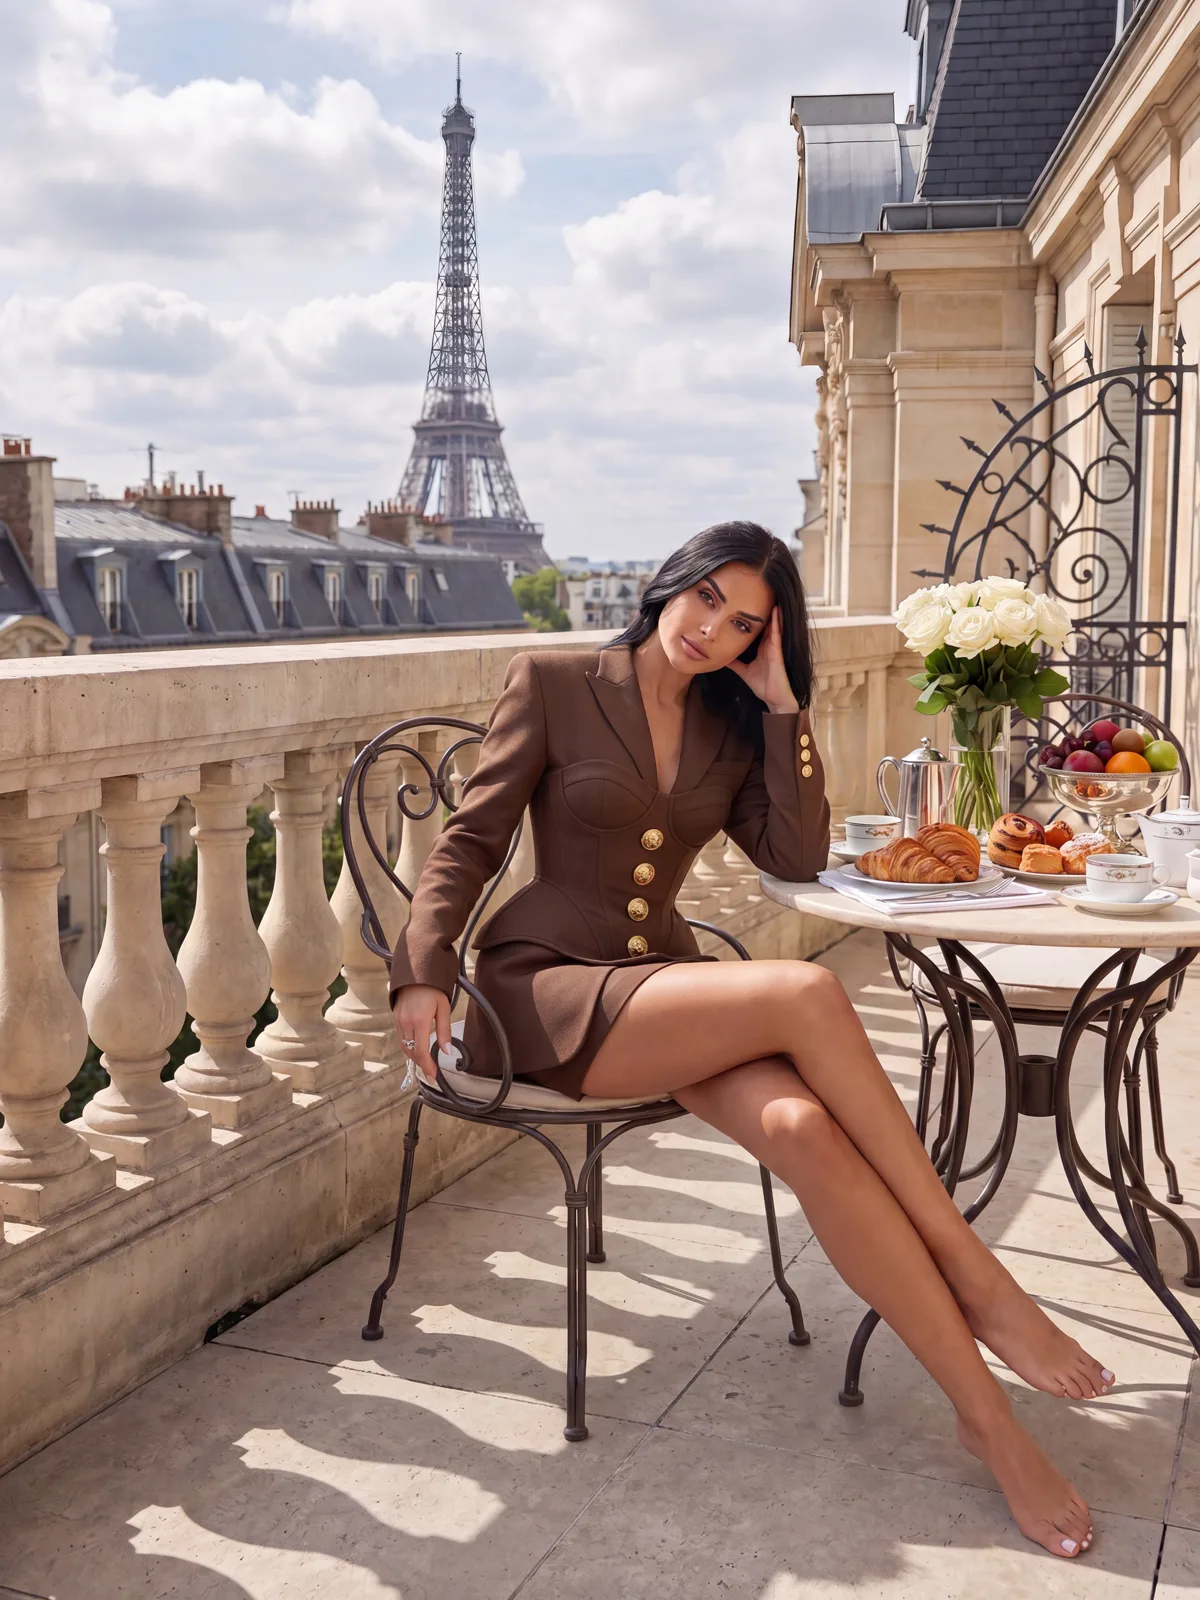
After
Step 2 — Describe the outfit you want
The AI auto-detects the existing garment — no manual selection. You type what should replace it: a category ("evening gown"), a style ("red satin slip dress"), or a detailed description.
The more specific you are, the closer the result. "Black lace lingerie set, soft studio lighting" beats "lingerie." Skin tone, body proportions and background stay identical to your source — only the garment region regenerates.
Step 3 — Export, upscale, animate
Compare before and after, then download at full resolution with no watermark. Two optional follow-ups in the same studio:
- Run the Upscaler to push the result to 4K (up to 4× the source).
- Feed it into the Video Generator to animate the look into a 5–10 second clip.
What Are the Most Common Mistakes?
Most disappointing results trace back to three fixable errors.
- Low-resolution input. A small, soft, or heavily compressed photo gives the AI little to infer from, so the regenerated area looks blurry. Start at 1,000 × 1,000 px or larger.
- Harsh or uneven lighting. Strong directional shadows across the garment confuse the fill. Even, soft lighting blends best.
- Vague prompts. "Dress" leaves the model guessing. Name the fabric, color, cut and lighting for a result that matches what you pictured.
If a result looks off, change one variable at a time — usually a cleaner source photo fixes it before the prompt does.
Can You Do This on a Phone?
Yes. The Clothes Transfer workflow runs in a mobile browser — upload, describe, export, no app install. For best detection, use a sharp photo from your library rather than a quick low-light snap, and the same 1,000 px minimum applies.
FAQ
How do you remove clothes from a photo with AI?
Upload the image to an AI clothing tool, let it auto-detect the garment region, then describe the outfit that should replace it. The AI regenerates that area to match the body and lighting. On ZenCreator this takes three steps and under a minute — on your own AI characters or rights-cleared photos only.
Does the AI show what's actually under the clothes?
No. It generates new, synthetic pixels for the garment area based on the surrounding image. Nothing real is revealed — the entire edited region is AI-created from body contour, lighting and shadow cues.
How long does it take?
The edit itself runs in under a minute on a clean input. Optional upscaling to 4K and animating to video add a few minutes each, all inside the same platform.
What makes a good source photo?
A well-lit, full-body or ¾ shot at 1,000 × 1,000 px or larger, with the garment clearly visible and no harsh shadows. ZenCreator accepts JPG, PNG, WEBP and BMP.
Do I need Photoshop skills?
No. There's no manual masking, layers or selection tools. You upload, describe the outfit in plain language, and the AI handles detection, regeneration and blending end to end.
Is it legal to remove clothes from a photo with AI?
It depends entirely on the source image. Doing this to a real person without consent is illegal in many regions and constitutes non-consensual intimate imagery (NCII) — a criminal offense in the US, UK, EU and elsewhere. ZenCreator's tool is for AI-generated characters and images you hold full rights to, never for real, non-consenting people.
Try AI Clothes Transfer on ZenCreator →
More in this series: 5 Best ClothOff Alternatives · Best Clothing Remover AI & Clothes Eraser Tools
Related guides: Uncensored AI Image Editor Guide · Uncensored AI Image to Image · Unrestricted AI Image Generator Guide