AI Image Editor With Zero Filters — Combine Characters, Swap Scenes
How to composite multiple AI characters into one scene, swap backgrounds, and edit without hitting content filters. Step-by-step with the ZenCreator Editor.
Most AI image editors block you the moment your content gets creative. You upload a photo, type an edit instruction, and the tool refuses — no explanation, no workaround. If you have ever hit a content filter while trying to combine two characters, adjust clothing, or composite a scene that the platform considers "sensitive," you already know the frustration.
ZenCreator's Editor&Combiner is built differently. It runs without content filters on both SFW and NSFW workflows, so the editing tools work the same regardless of what is in the image. This guide walks through exactly how to use it.
What can you actually do in the Editor?
The Editor&Combiner handles three jobs that most restricted tools cannot do at all: compositing multiple characters into one scene, adding or removing elements from a generated image, and making manual touch-ups without triggering a safety filter.
Typical use cases:
- Merge two separately generated AI characters into a single frame (couple shots, group content)
- Add clothing, accessories, or background elements to an existing image
- Remove unwanted artifacts from a generation without losing the rest
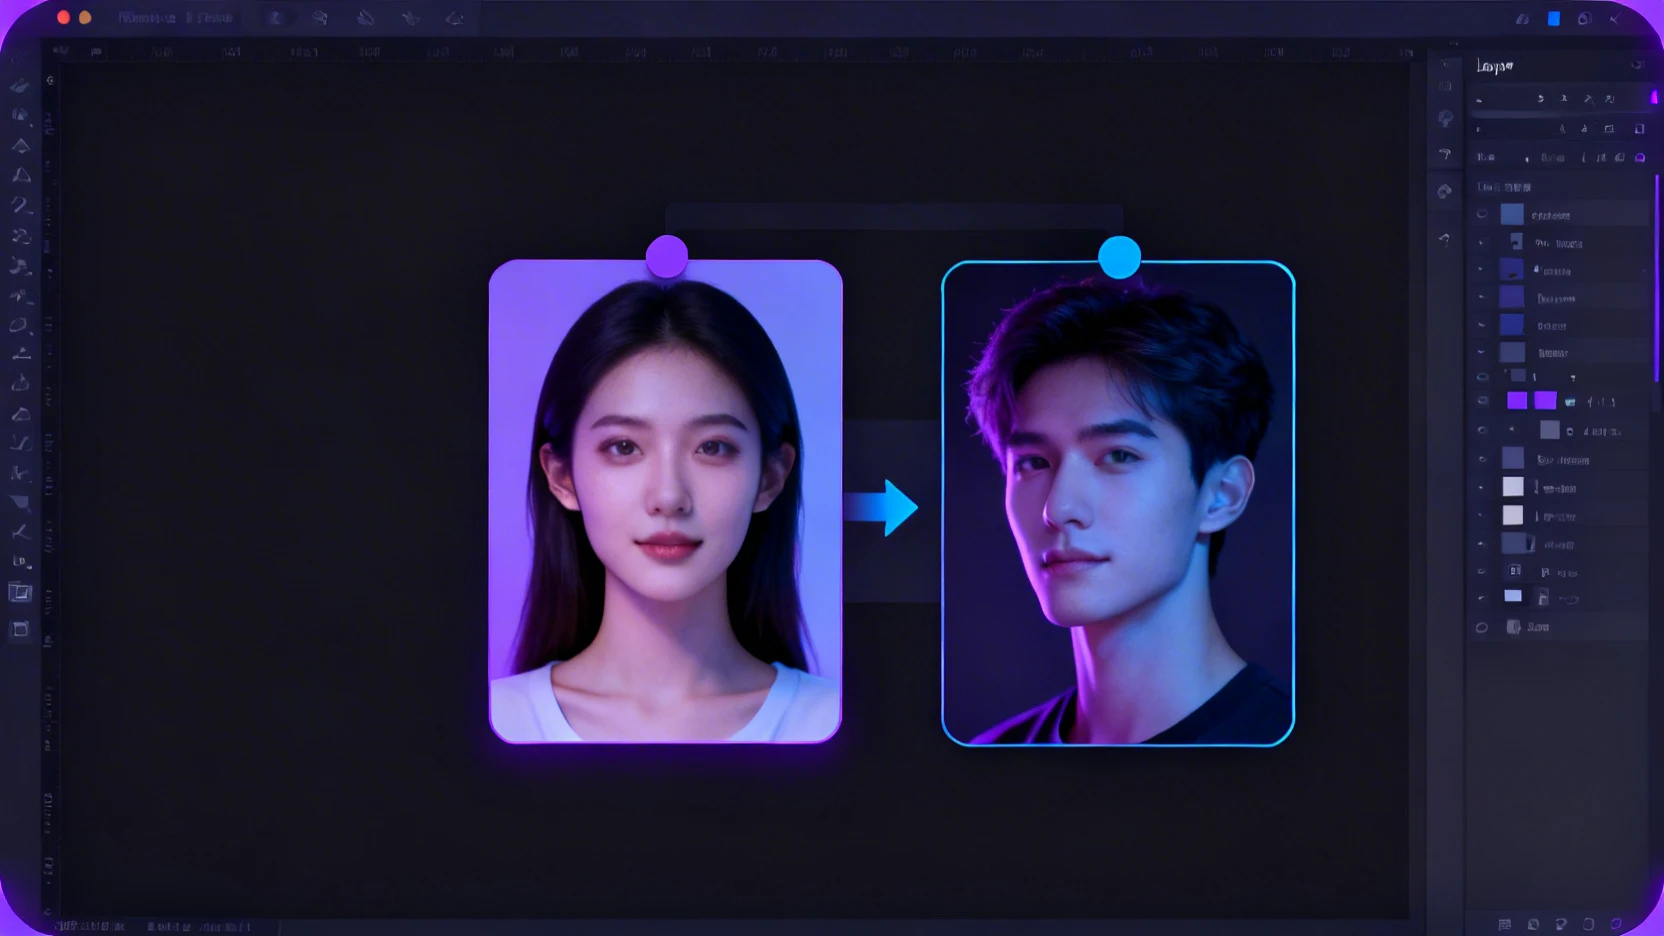
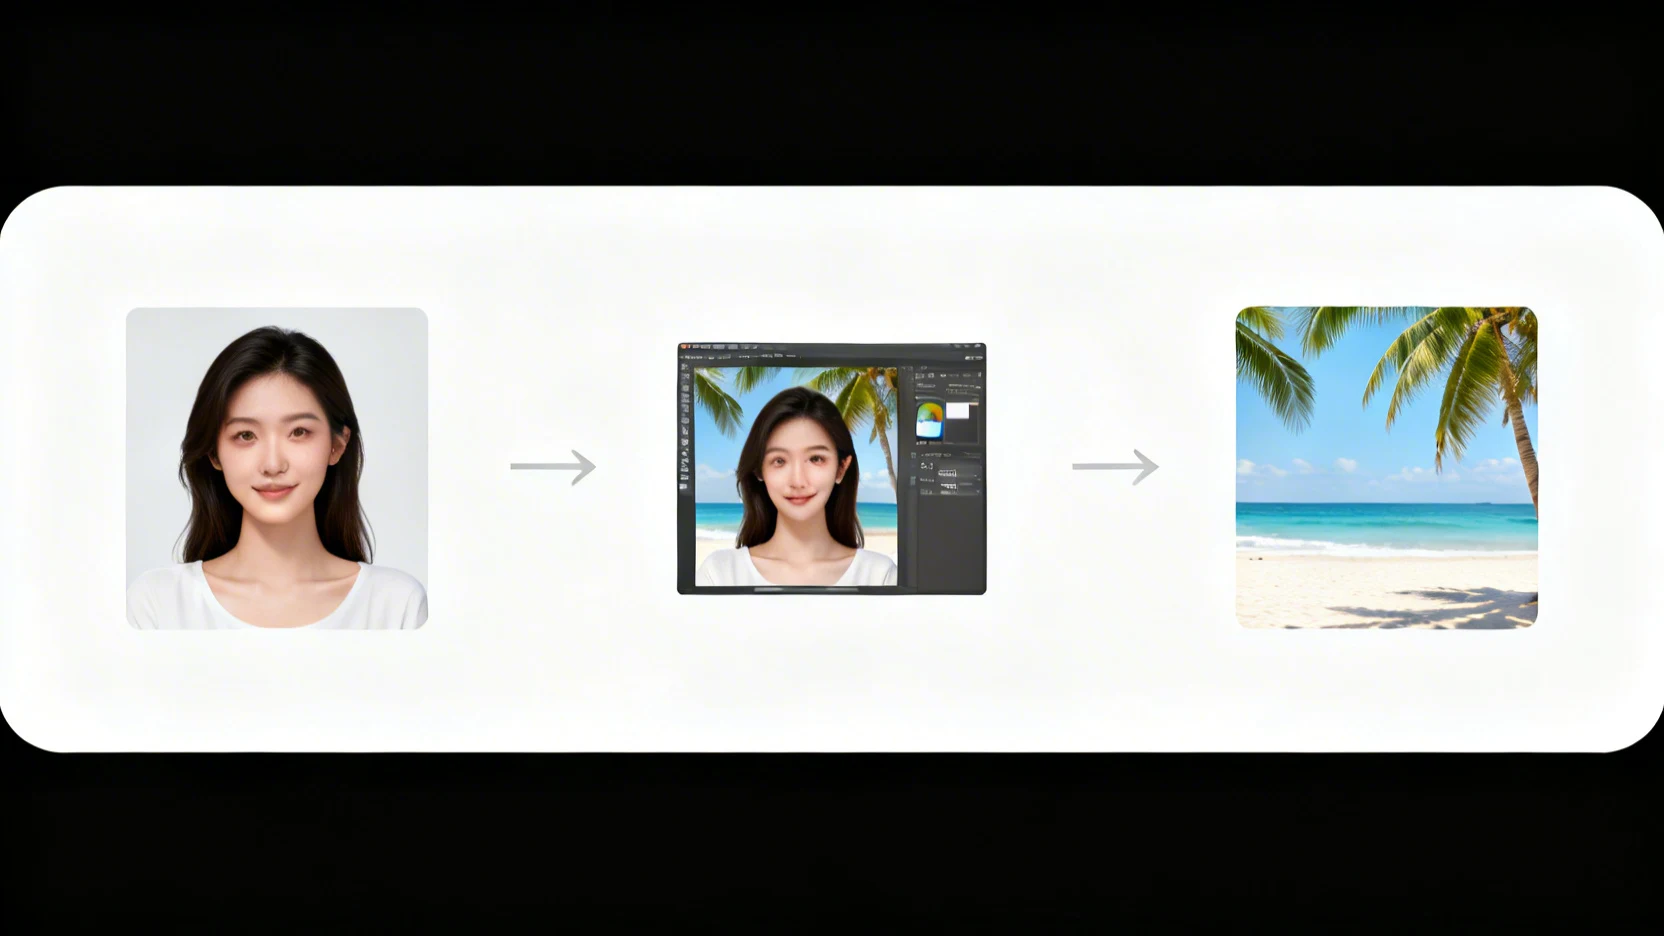
- Combine a face-swapped portrait with a new background
The tool works on any image — uploaded photos, AI-generated stills, or outputs from other ZenCreator tools like Text-to-Image or PhotoShoot.
How do you open the Editor in ZenCreator?
Go to EditorOpen tool in ZenCreator. No desktop software to install — it runs entirely in the browser.
The interface has two main areas: a canvas where your image loads, and a sidebar with editing controls. Upload your base image or drag one in from a previous generation. The canvas supports zoom, pan, and layering — so you can position multiple elements before committing the edit.
What does the editing workflow look like step by step?
A typical editing session takes under two minutes. Here is the exact sequence.
- Upload or select your base image. This can be any image — a generation from Text-to-Image, a PhotoShoot output, or something from your camera roll.
- Add the element you want to combine. Upload a second image (another character, a prop, a background) and position it on the canvas.
- Adjust layers. Resize, rotate, and reorder elements until the composition looks right.
- Run the AI merge. The tool blends the layers into a single cohesive image, matching lighting and perspective automatically.
- Download or send to another tool. Save the result, or feed it directly into Image-to-Video or Face Swap for the next step in your pipeline.
No prompt is required at any stage. The AI interprets what you placed on the canvas and handles the blending.

Why do other AI image editors block edits?
Most cloud-based AI editors — including Canva AI, Adobe Firefly, and Fotor — run every edit through a safety classifier before rendering. If the classifier flags the input image, the output prompt, or even the combination of both, the edit is rejected.
This means even non-explicit content gets blocked regularly: lingerie brand photos, artistic figure studies, swimwear shots, or romantic couple scenes. The filter does not distinguish between commercial creative work and policy violations.
ZenCreator skips that classifier entirely on its unrestricted pipeline. The Editor processes your input as-is, which is why it works for the full range of AI influencer content — from clean lifestyle posts to mature creator workflows.
How does the Editor fit into a larger content pipeline?
The Editor is rarely the first or last step. Most creators use it as the compositing layer between generation and publishing.
A common pipeline looks like this:
| Step | Tool | What happens |
|---|---|---|
| 1 | Face Generator | Create your AI character's face |
| 2 | Text-to-Image | Generate a scene with that character |
| 3 | Editor&Combiner | Merge a second character or swap the background |
| 4 | Upscaler | Enhance to 4K resolution |
| 5 | Image-to-Video | Animate the final composite into a 5-second clip |
Because every tool in ZenCreator shares the same unrestricted pipeline, nothing breaks when you pass an edited image from one step to the next. No re-uploads, no format conversion, no filter re-checks.
FAQ
Does the Editor require writing prompts?
No. You position elements visually on a canvas and the AI handles blending. Prompt-based editing is available in the separate Image-to-Image tool if you prefer that workflow.
Can I combine more than two images?
Yes. The canvas supports multiple layers, so you can composite three or more elements — characters, props, backgrounds — into one frame.
What file formats does the Editor accept?
PNG, JPG, and WebP. Output is available in all three formats at up to the resolution of your input images.