Updated September 2026
Background Remover:Remove or Replace a Background With a Prompt
ZenCreator's background remover works inside Image Editor. Upload a photo, describe the result, for example "remove the background, place the product on plain white, keep the label unchanged", and get back a new image with the old background replaced by a plain backdrop or a new scene.
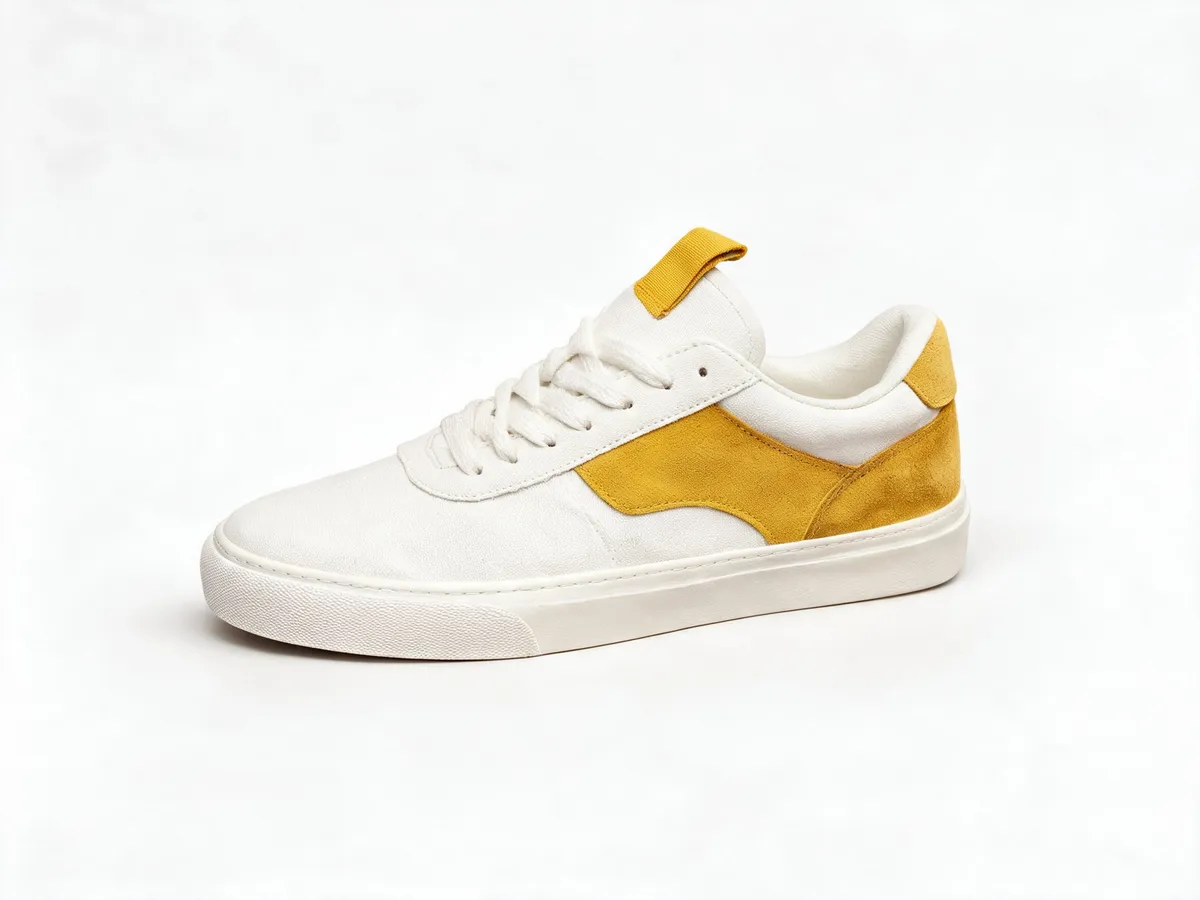
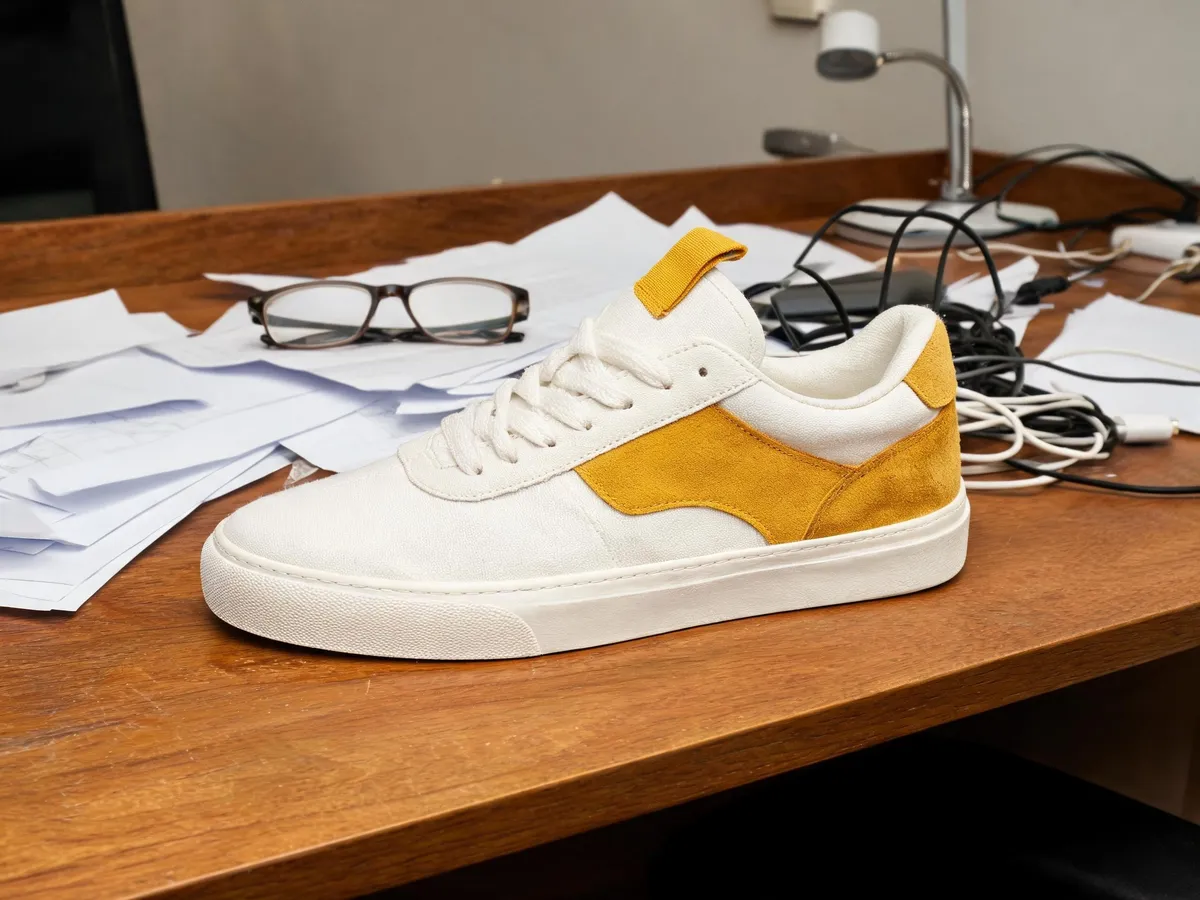
Busy desk before, plain white after. Same sneaker, one prompt, label and colours kept.
Remove Background From Image Files by Describing the Result
Think of it as an image background remover that takes instructions instead of a selection brush. You say what should go, what should take its place and what must stay unchanged, and Image Editor returns a finished image.
Swap it for plain white or a solid colour
Erase the background and leave a clean white or single-colour backdrop for listings, catalogs and profile images. You can also remove a black background and put the subject on white.
Put the same subject in a new scene
Describe a new setting and the subject moves there: a mug photographed against a studio backdrop becomes the same mug on a sunlit café table. Name what must not change, such as the logo or the colours.
Apply one edit to a whole set
Turn on Batch Mode and every uploaded image is edited separately with the same prompt, so a product range ends up on matching backdrops.
Need more than a new background, such as a changed outfit or pose, or people from two photos combined into one? Use the AI Photo Editor.
Photo Background Remover for Products, Portraits and Social Content
Use it to remove the background from a photo for four everyday jobs. Each card includes a prompt you can adapt: say the change first, then what to keep.
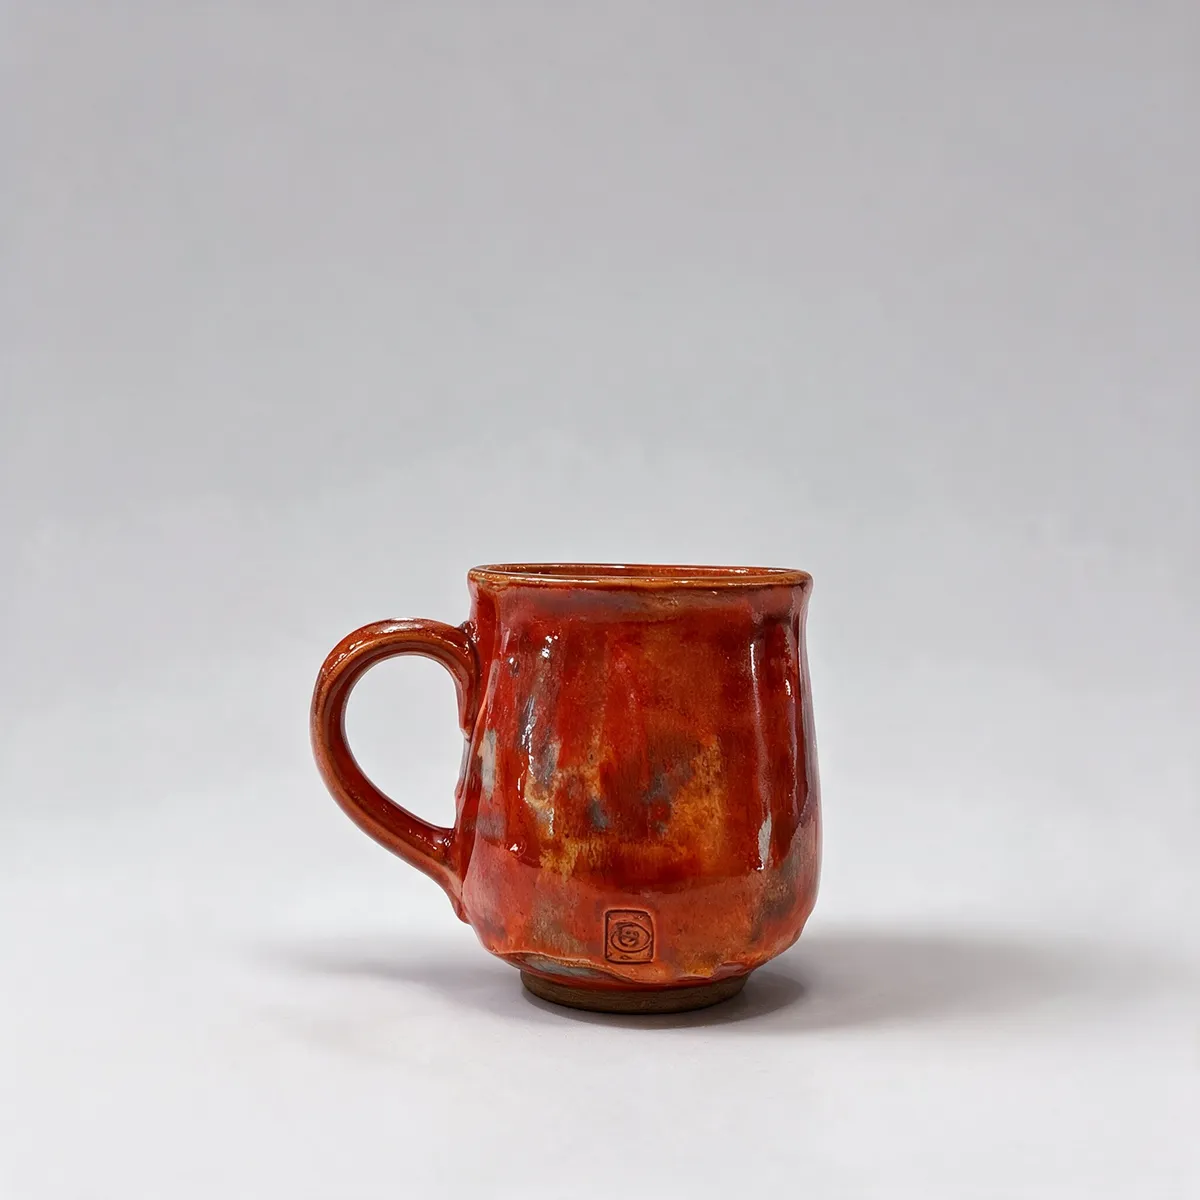
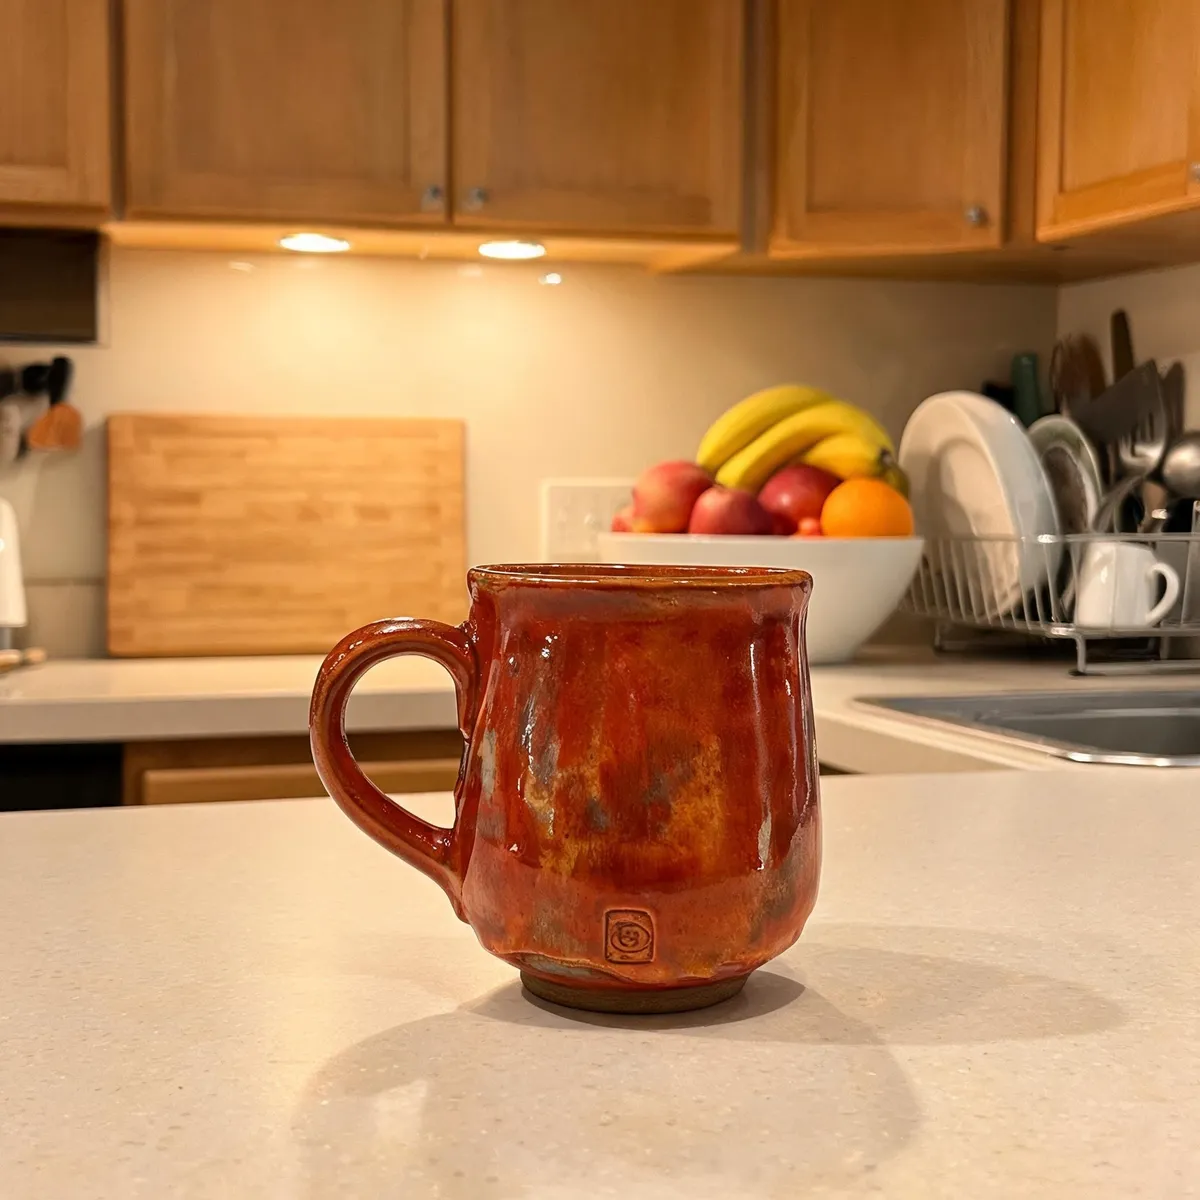
Product photos for listings and catalogs
Give product shots clean, consistent backdrops for marketplace listings and catalogs. For brand-safe product visuals, use Nano Banana 2 and keep the prompt simple and descriptive.Prompt: "Remove the background and place the mug on a solid light-grey backdrop; keep the mug's shape, glaze and logo unchanged."
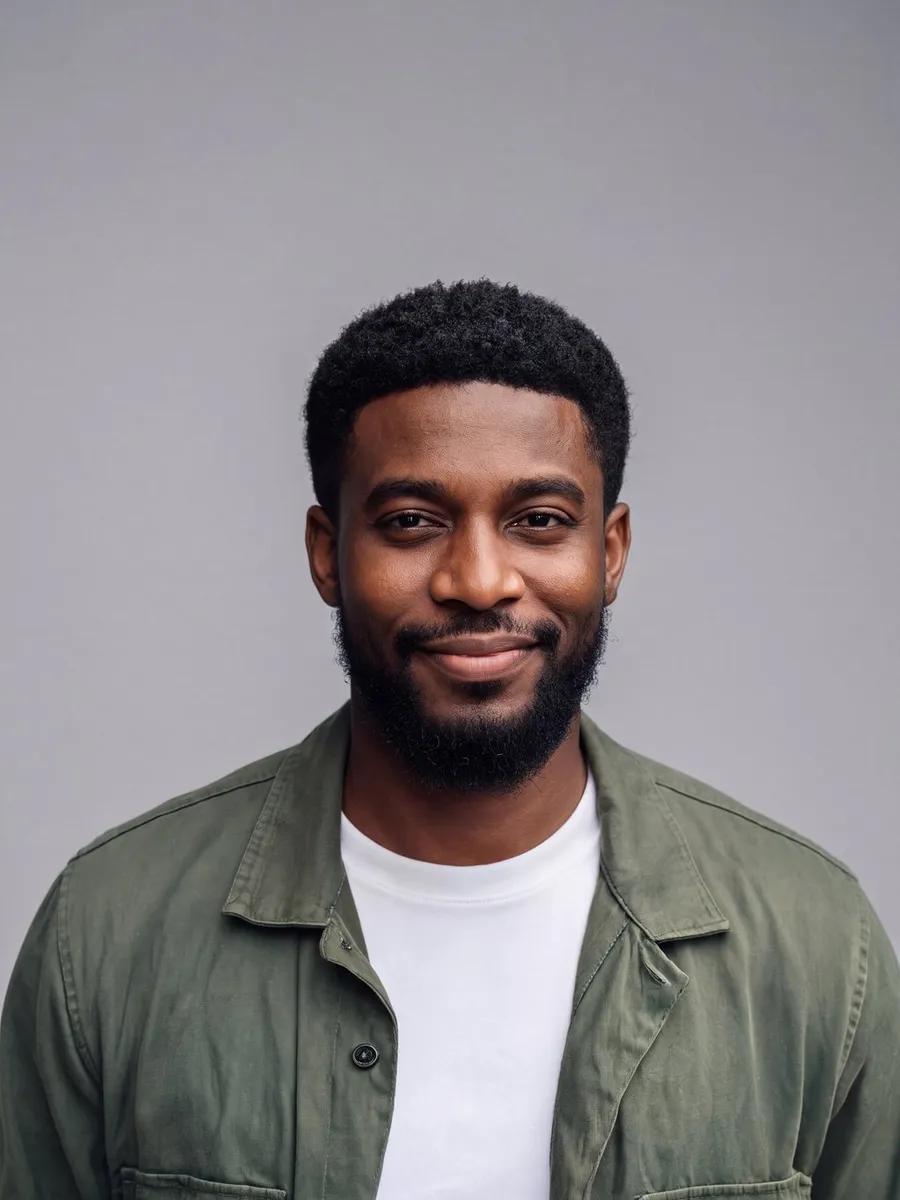
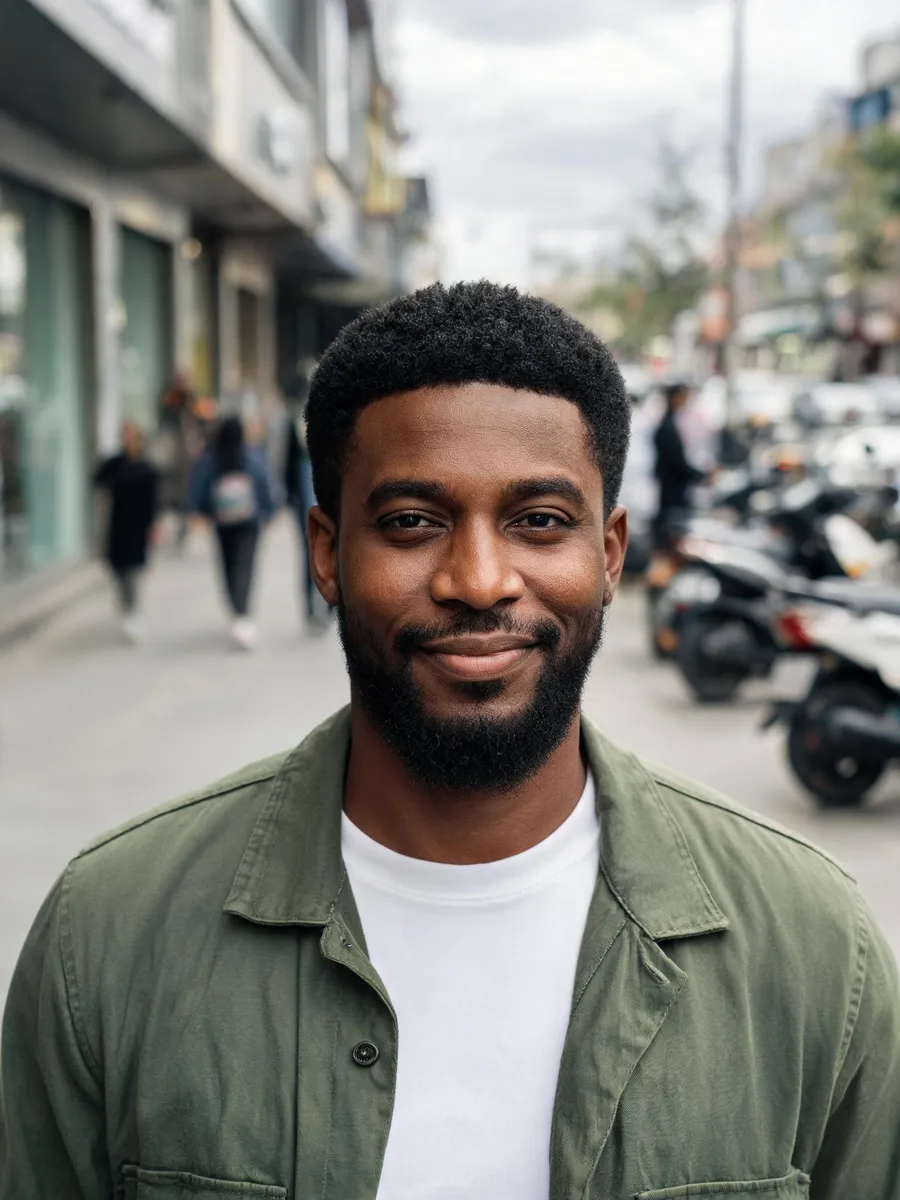
Portraits and profile pictures
Move a portrait off a busy street and onto a soft studio backdrop for a profile, team page or CV. Add a clear face image, which helps keep the person recognisable, and only edit photos you have the right to use, with consent from anyone shown.Prompt: "Replace the street with a soft grey studio backdrop; keep the face, hair, jacket and pose unchanged."

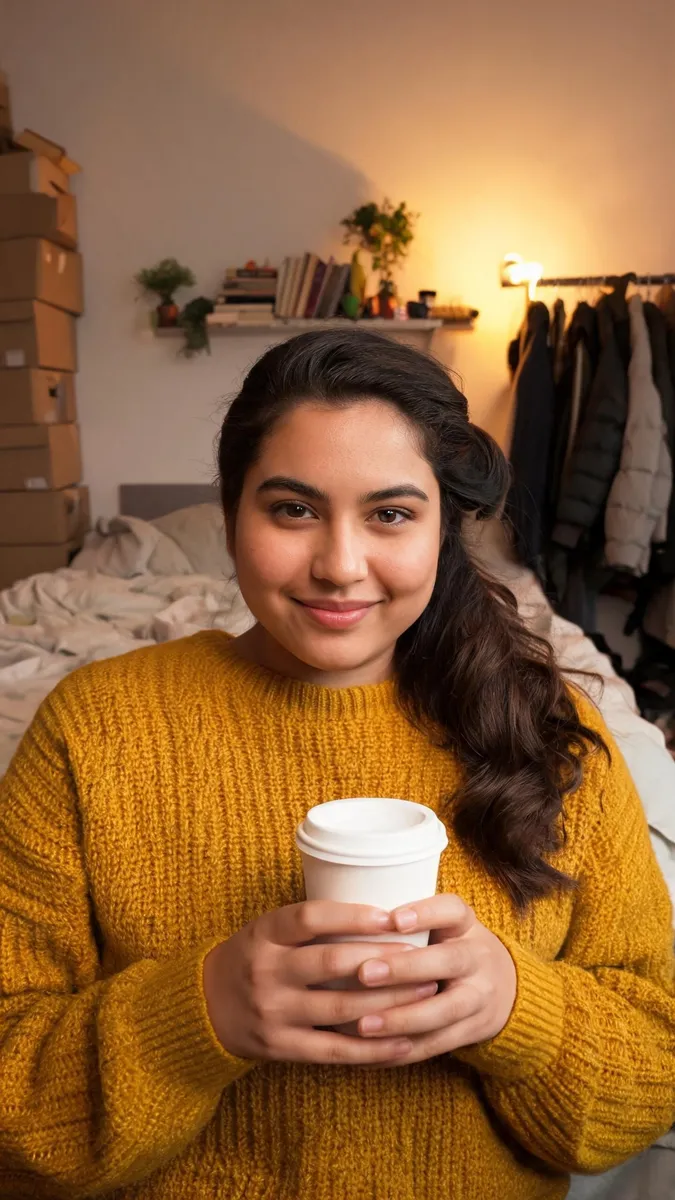
Creator and social posts
Turn a shot taken in a messy room into a post set in a bright café without reshooting it. Here the tool works as a picture background remover and a scene changer in the same prompt.Prompt: "Replace the room with a bright café interior; keep the person, their outfit and the coffee cup unchanged."

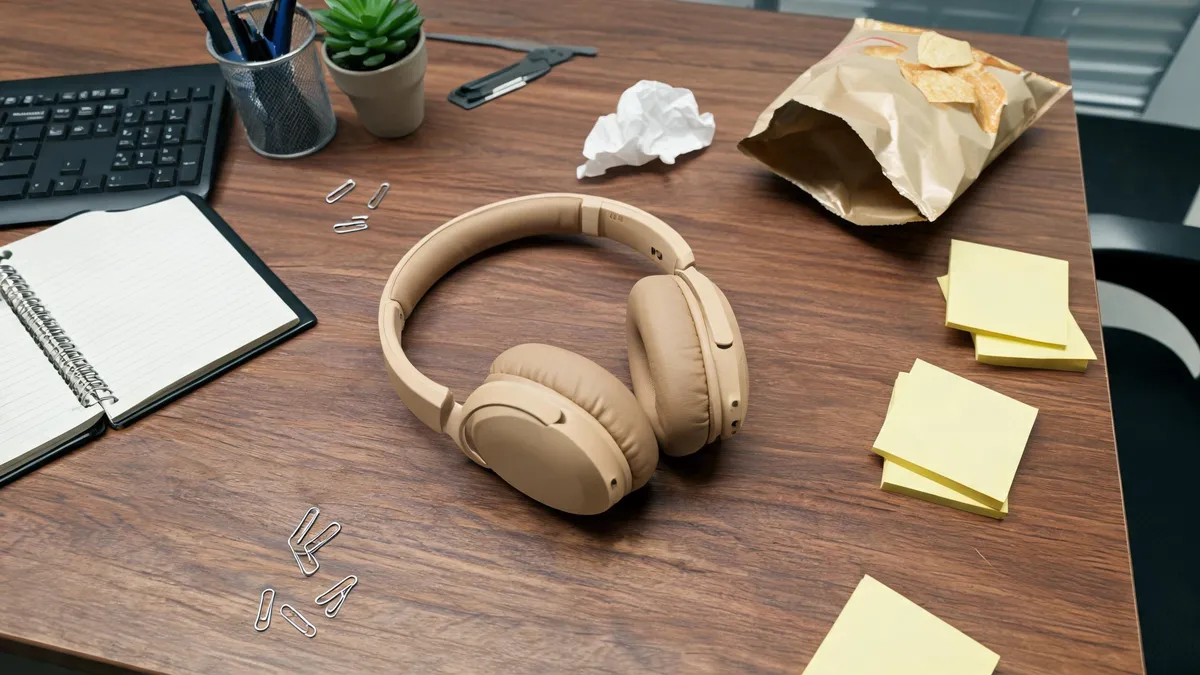
Ads and marketing mock-ups
Give a product shot the backdrop a campaign needs, from a brand-colour gradient to a seasonal scene, and generate several versions in one run before you pick one.Prompt: "Remove the desk and place the headphones on a smooth teal-to-navy gradient; keep the headphones, their shape and colour unchanged."
How to Remove Background From Image in ZenCreator
The whole flow happens in Image Editor, and the only thing you write is one sentence describing the result.
1. Open Image Editor and choose Nano Banana 2
It is the recommended model for realistic product and brand visuals, and it reliably renders text such as labels and signs.
2. Upload your image
Add a JPG or PNG; clear, well-lit photos give more predictable results. For a set, switch on Batch Mode so each image is edited on its own.
3. Describe the edit
Tell it to get rid of the background, say what to put in its place and name what must stay the same. A vague prompt gives unpredictable results, so be specific: "Remove the background and place the product on a plain white background; keep the product, its shape, label and colours unchanged."
4. Set the format and generate
Leave Aspect Ratio on Auto to keep your photo's proportions, choose how many versions you want, then press Generate. Two or three versions give you a choice without rewriting the prompt, and the cost appears on the button before you confirm.
5. Download the result
Save it from the task, the tool's gallery or My generations. Your results stay in your account with no expiry date, so you can come back to them later.

Got a photo with a background you'd rather not keep? Describe the fix and let Image Editor handle it.
Why Use ZenCreator as Your Background Remover
AI background removal without manual masking
No selection brush, no layer masks and no design skills: it is an AI photo background remover that follows plain-language instructions about what to remove and what to keep.
Remove and replace in one edit
Clearing the old backdrop and choosing the new one is a single instruction, so a cluttered shot becomes a finished image without a second pass in another app. Plain white for the listing, a café table for the social post: same subject, same prompt box.
Keep going in one workspace
Send the result to Image Upscaler for more resolution, to Variations for more angles or looks, or to Image to Video to animate it. A background edit can go on to become an HD banner or a short clip in the same workspace.
An online background remover in your browser
There is nothing to install. Open it in a desktop or mobile browser, on a tablet or in the ZenCreator mini-app inside Telegram, and remove the background from a photo online wherever you are.
HD Background Remover Workflow: Edit, Then Upscale
A new backdrop only helps if the image is sharp enough to use. For a high quality background remover result, edit first and enlarge second.
Step 1 · In Image Editor
Describe: name what must stay unchanged, such as the product, its label and its colours.Download: files keep the same quality they were generated at.
Step 2 · In Image Upscaler
Target resolution: pick the output size directly, up to 8K with SeedVR2 3B Base or up to 6K with SeedVR2 7B Premium.Detail: choose Low, Medium or High; the upscale sharpens detail and cleans up softness and minor noise.
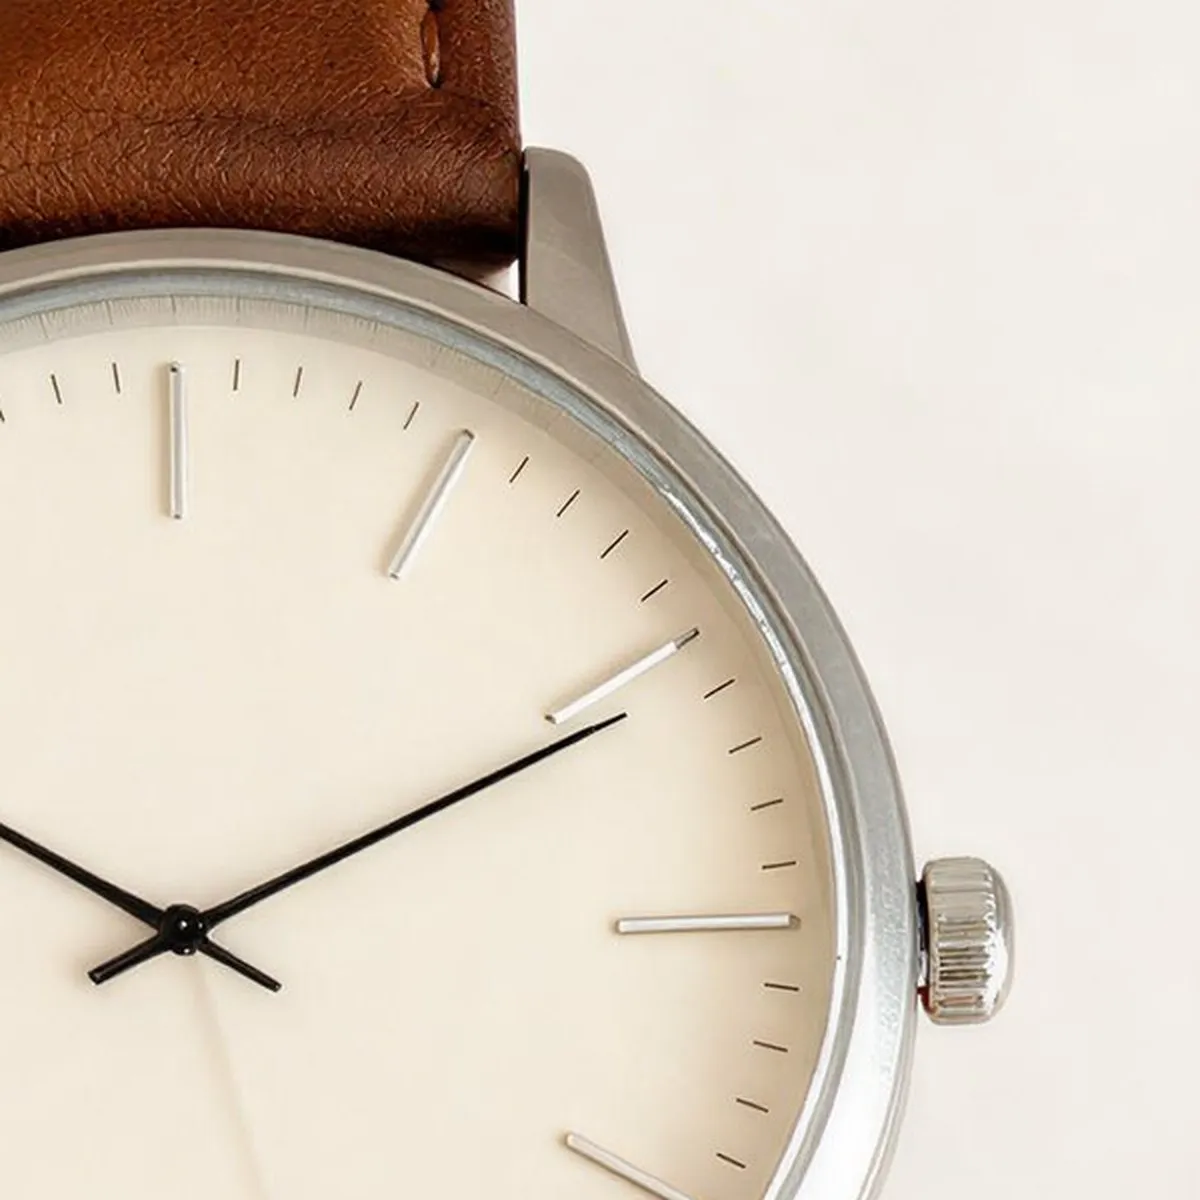
Before and after upscaling. A detail crop of an edited product shot, enlarged in Image Upscaler.
Planning a print, a banner or a large product zoom? Run the finished edit through the Image Upscaler.
Cut-Out Tool or Prompt-Based Editing: Which Fits Your Job?
Both approaches clear a background away. They differ in what you get back.
When a dedicated background removal tool fits
Layers: you need the subject as a separate cut-out layer to drop into another design app.Original pixels: the subject's original pixels must stay untouched.Quick single cut-outs: you want to cut out the background of one image and move on.Hand control: you prefer manual masking and refining edges yourself.
When ZenCreator Image Editor fits
Finished image: delete the background and set a new backdrop in the same edit.Whole sets: apply one instruction to every image with Batch Mode.New scenes: place the subject in a realistic new setting instead of on an empty canvas.Next steps: upscale, create variations or animate the result without leaving the workspace.
Choose by the output you need: a separate cut-out layer or untouched original pixels calls for a cut-out tool, while a finished image on a new backdrop, or the same edit across a set, points to Image Editor.
Before and After: Backgrounds Removed in ZenCreator
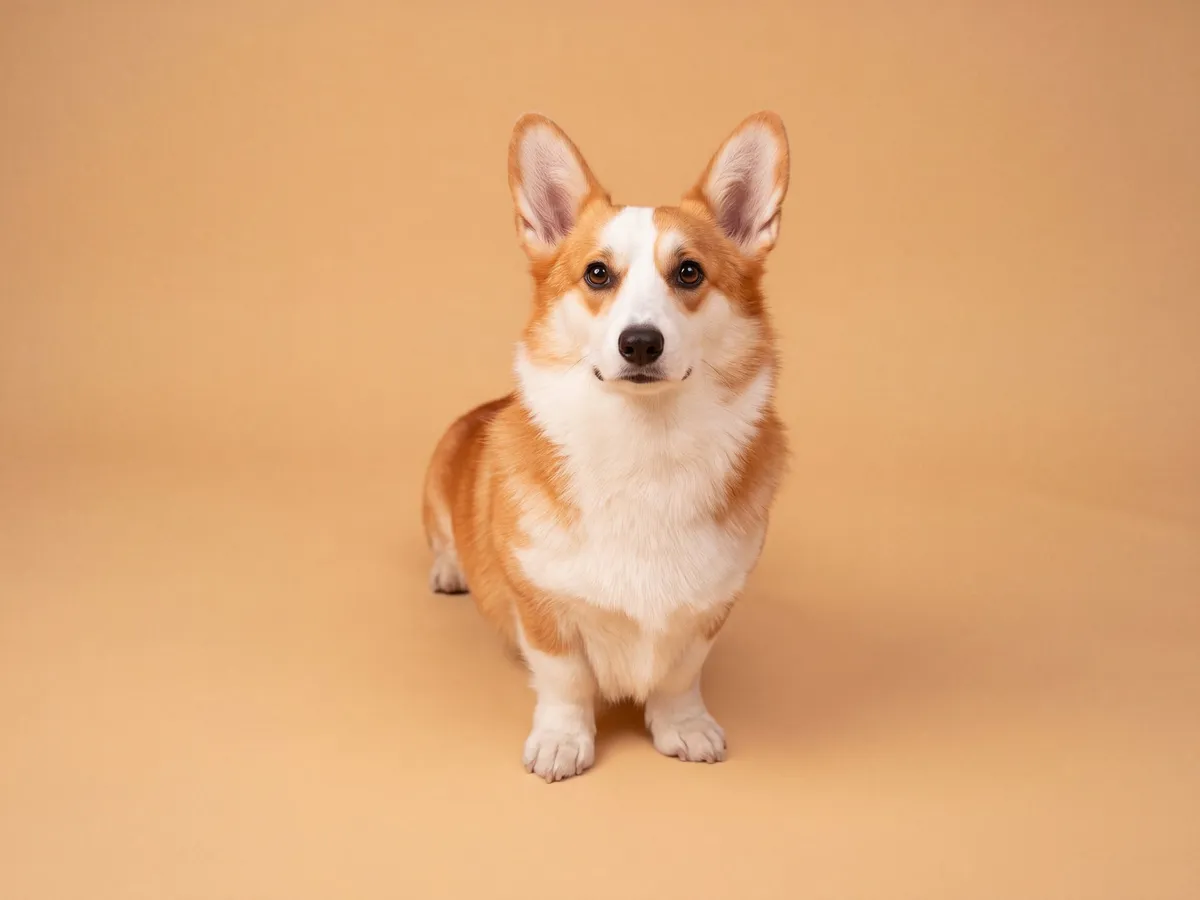

Dog on a patterned rug → same dog on a warm beige backdrop. One prompt.
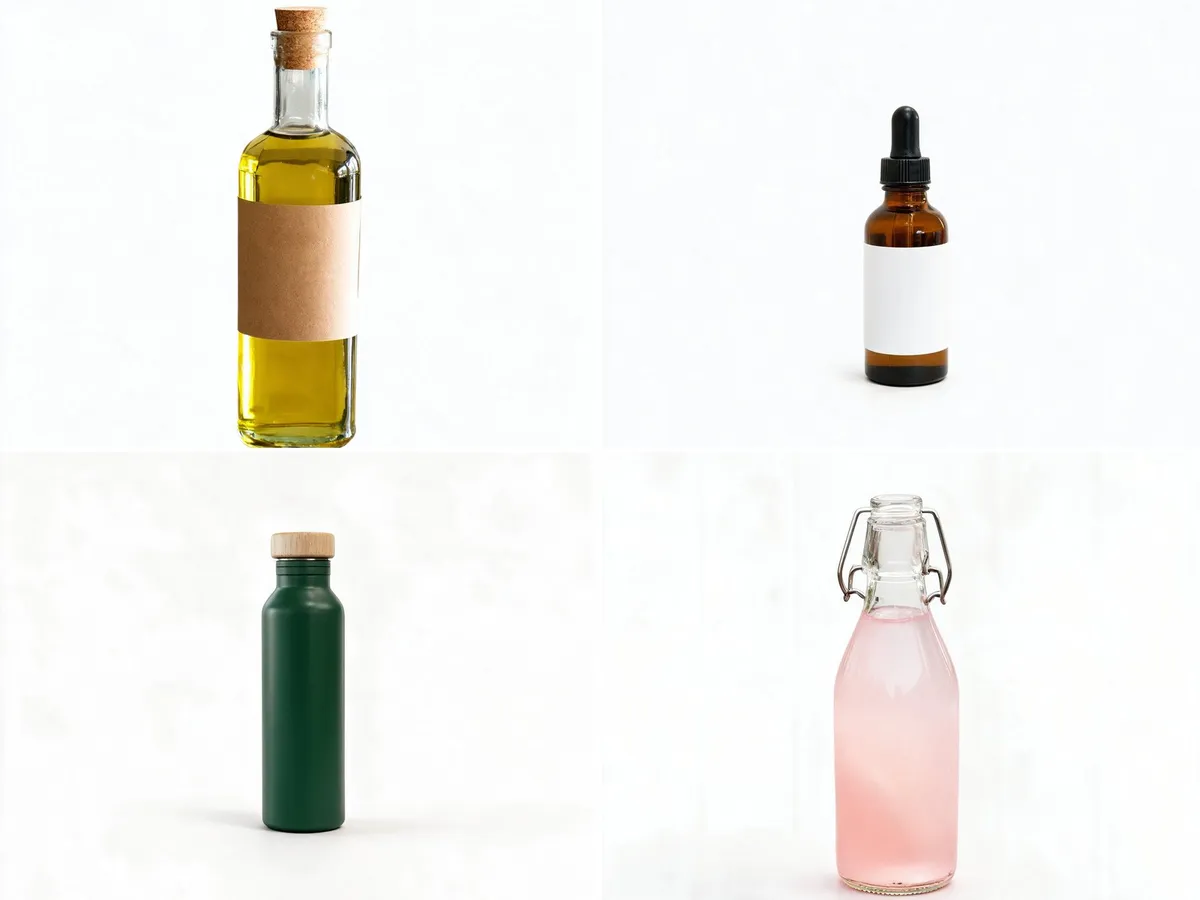

Four bottles, one Batch Mode run. Each one placed on the same white background.
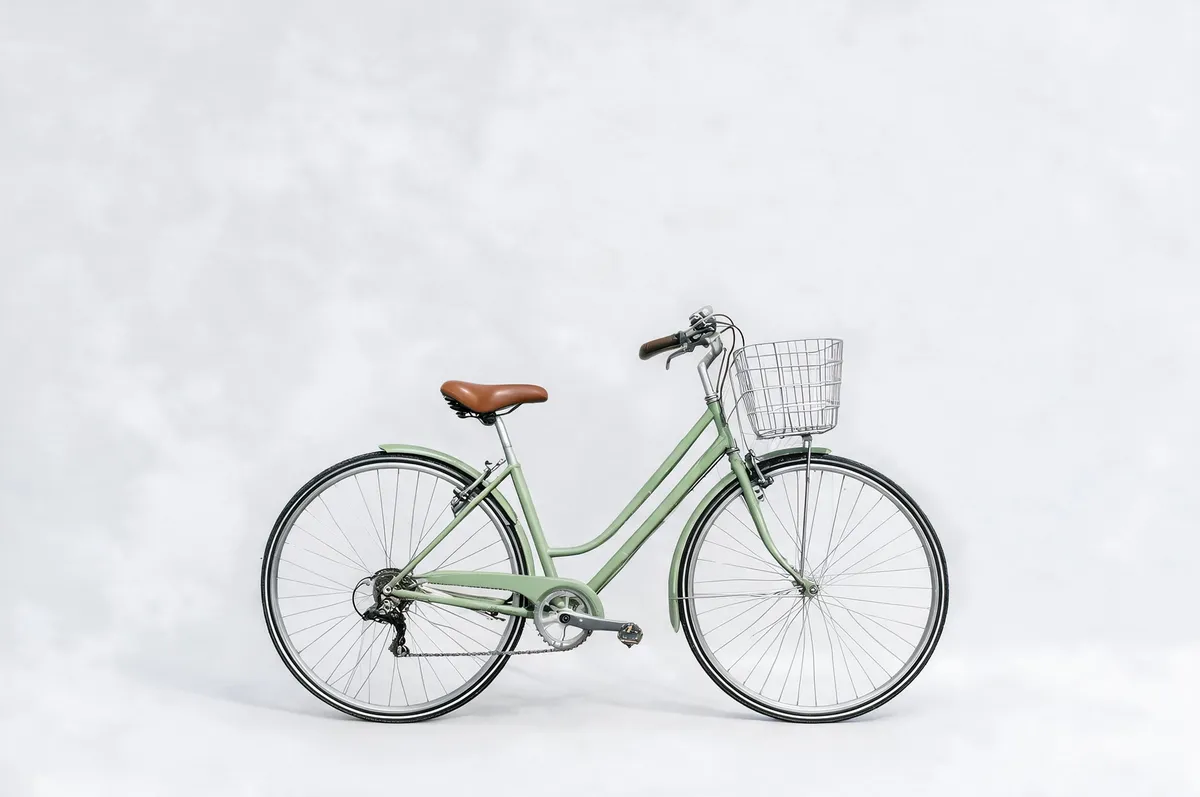
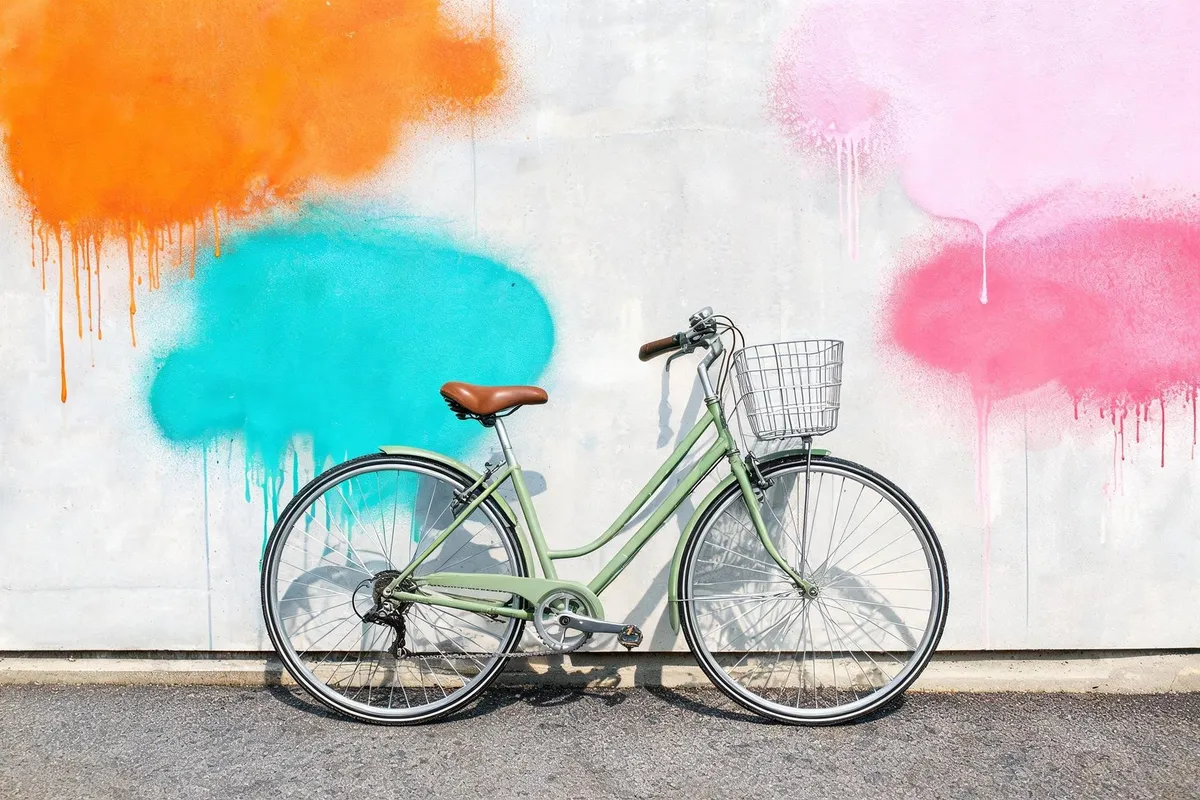
Bicycle by a graffiti wall → same bicycle on a light backdrop. The prompt named the wheels to keep.
Only upload images you have the right and permission to use. If an image includes another person, make sure you have the consent required for your intended edit and use. See the Content Policy and Terms.
Background Remover FAQ
What can I put behind my subject once the background is gone?
Anything you can describe. Plain white suits marketplace listings, a solid brand colour or a soft gradient suits ads, and a real location such as a kitchen counter, a beach or an office suits lifestyle shots. Name the new backdrop and what stays unchanged in the same prompt, for example "plain white background, keep the bottle and its label unchanged". You can also upload a reference image of the setting you want the model to use.
Is there a background remover app?
There is no separate app to install. ZenCreator runs in your browser, with versions for mobile and tablet screens, and there is also a mini-app inside Telegram, where downloaded images arrive in the chat as files.
Which image formats can I upload?
JPG and PNG are the typical image formats. Clear, high-quality, well-lit photos give the most predictable results. A file can be rejected if it is corrupted or its resolution or aspect ratio is invalid.
Will the edit change my product or person?
Image Editor creates a new image from your instruction rather than masking the original pixels, so say exactly what must stay the same: the product, its label and colours, or a person's face and pose. Generative results can include artifacts. If something drifts, simplify the prompt or run it again. For complex edits, clear the background in one run and adjust details in the next.
Can I remove backgrounds from many images at once?
Yes. Switch on Batch Mode and each uploaded image is edited separately with the same prompt, one result per image. Nano Banana 2 takes up to 14 images per run, so split larger sets into several runs. Tick only the results you want to keep and download those; more than 3 images at once arrive as a single ZIP file.
How long does it take?
Most tasks finish within 1–5 minutes. Peak load or model processing can add delays; if a task is still processing after 30 minutes, contact support with the Task ID.
How does pricing work, and can I use the results commercially?
ZenCreator works on credits. The cost of each run is shown on the Generate button before you confirm, credits are deducted when the task starts, and credits don't expire. If a task fails because of an error on ZenCreator's side, the credits are typically returned automatically. Plans are on the Pricing page. Commercial use is permitted under the Terms, subject to your compliance, applicable rights, and the terms governing the service and source materials. Similar outputs may be generated for other users, so you don't get exclusive rights to a generated concept or style.
Remove the Background, Keep the Subject
Upload a photo, say what stays, and get a clean backdrop or a new scene in your browser, for one image or a whole batch.